|
I, like most quilters/makers, have a number of projects in the works at the same time. Yup. Because they all look so wonderful! I did decide to join in the Bowtie Flower sewalong that Elizabeth Chappell of Quilter's Candy is hosting on instagram. When I saw her quilt on the pattern cover, I knew I wanted to try it with Painted Meadow! 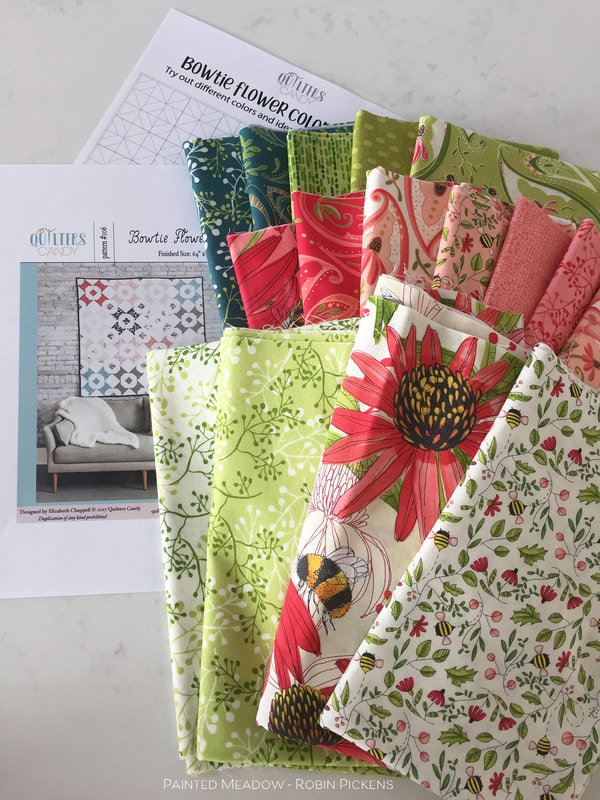 To be honest, in order to join a sewalong right now, I need to feel its something that won't take me hours and hours of long work. I want some projects that are doable and I can get to the finish line. I looked over the pattern and realized that it would fit in to my schedule and I could set up time to do all the cutting, all the HST, all the trimming, etc. Add in chain piecing and I'm there! Plus, I have to admit that sometimes I get bogged down in making my own patterns so it is a breath of fresh air to make quilts from patterns created by other designers. 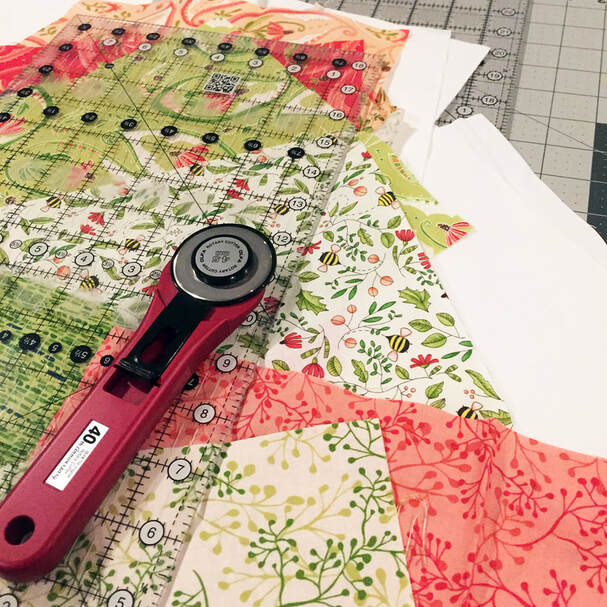 For my white I am using Moda Bella Solids White Bleached 98. The pincushion is from Wooly Felted Wonders. Isn't it cute? 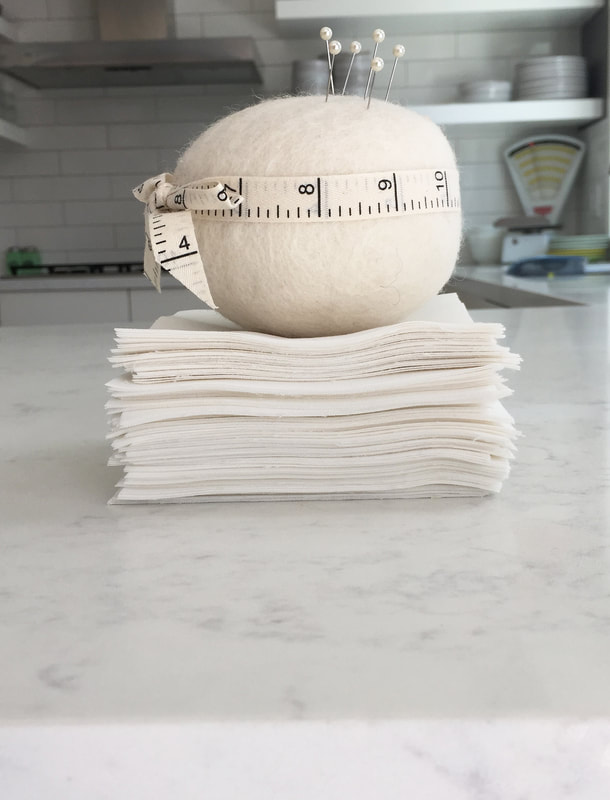 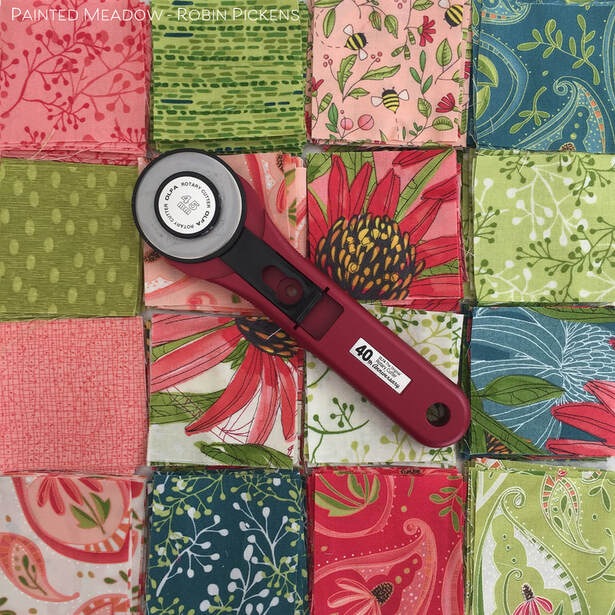 After deciding which prints I wanted to use (and yes, I mocked it up in the computer using the coloring page that Elizabeth provided- very helpful!) I got to work cutting. I decided to make my Half Square Triangles using an 8-at-a-time method. So my squares I cut for HST were actually 10" to make 8 HSTs. The exceptions were the blocks with bees in them. I fussy cut those so my bees would be center stage in the triangle shape. 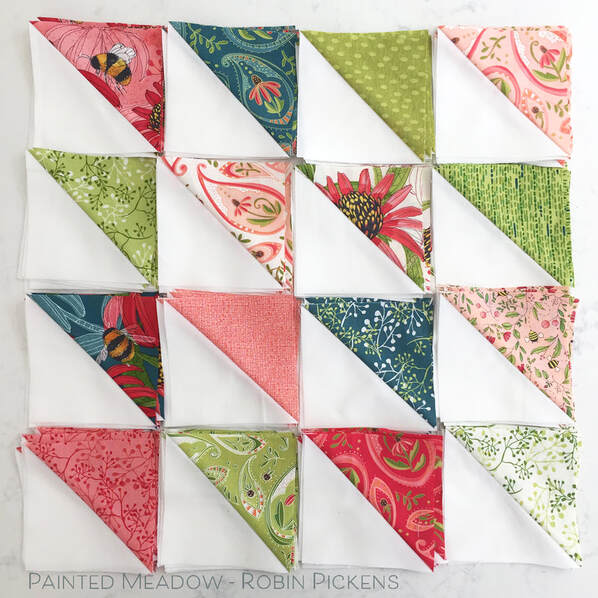 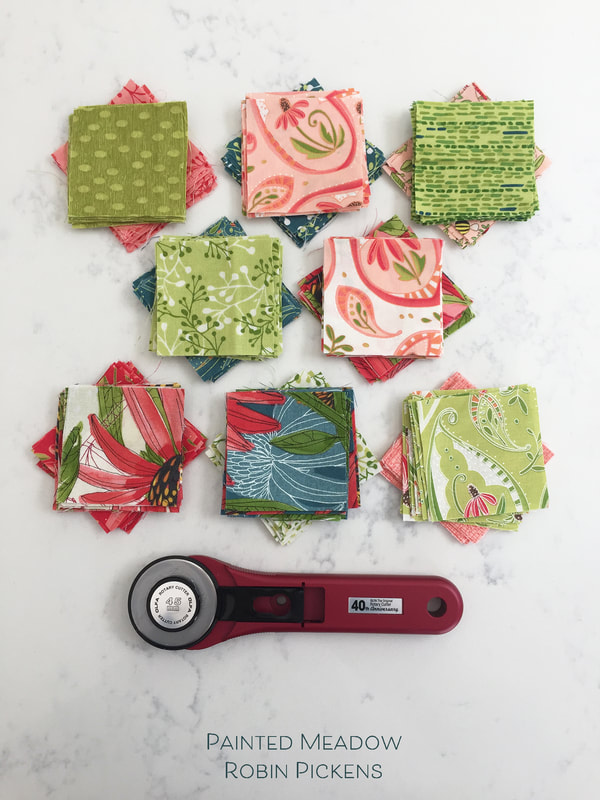 I recently bought myself a Martelli turn table and cutting mat. Wow! It is a dream to use. I really enjoy having good tools and look forward to treating myself for a birthday or if I meet a goal I've set. 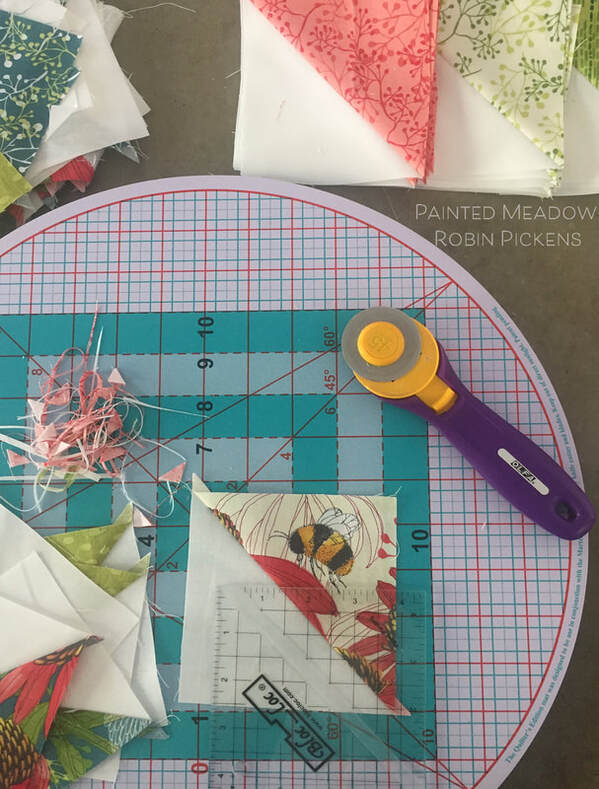 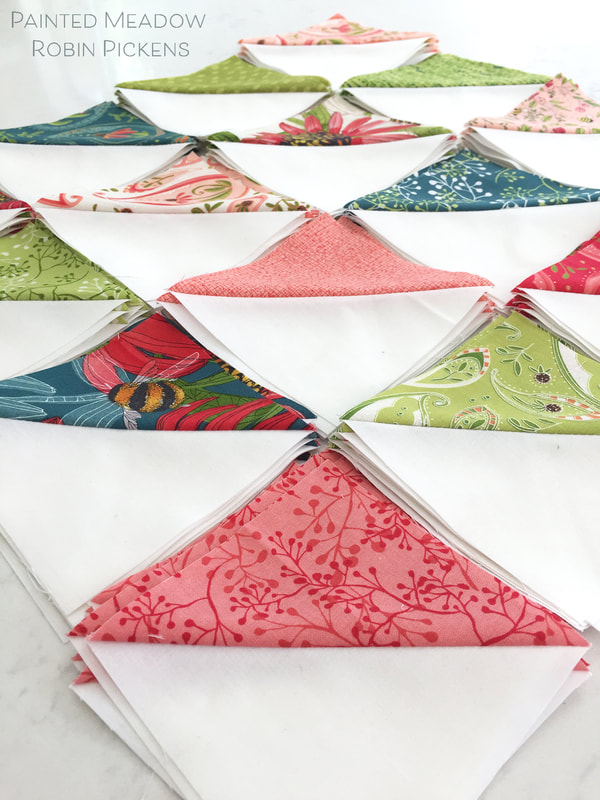 Next up were the stitch and flip blocks. 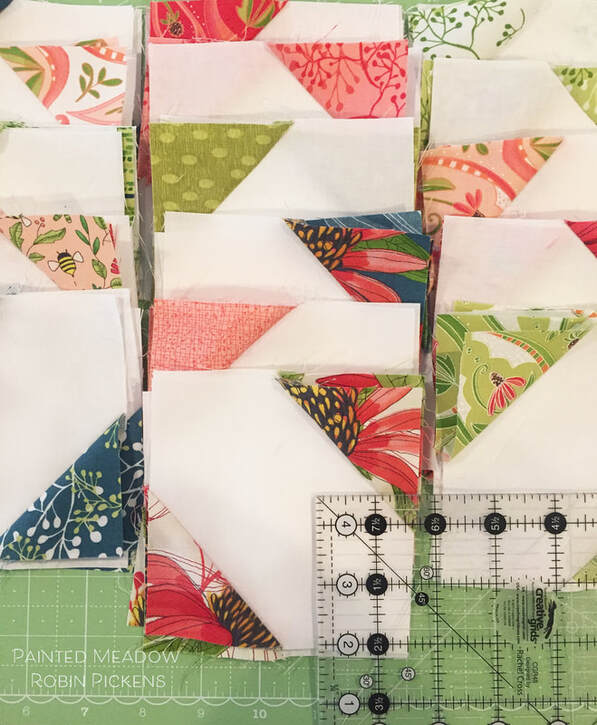 When making the stitch and flip blocks, I like to sew an extra seam in the part I am cutting off to make additional Half Square Triangles to use for something else. They are small and cute and I'm not sure what I'm going to make with them yet. I'll trim them up when watching tv some night. I'm thinking of doing a little mini wall quilt with them. 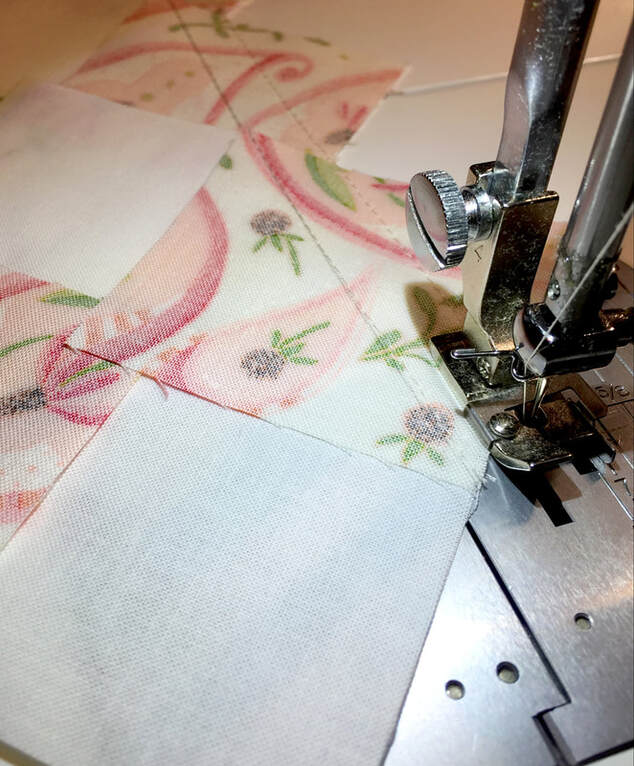 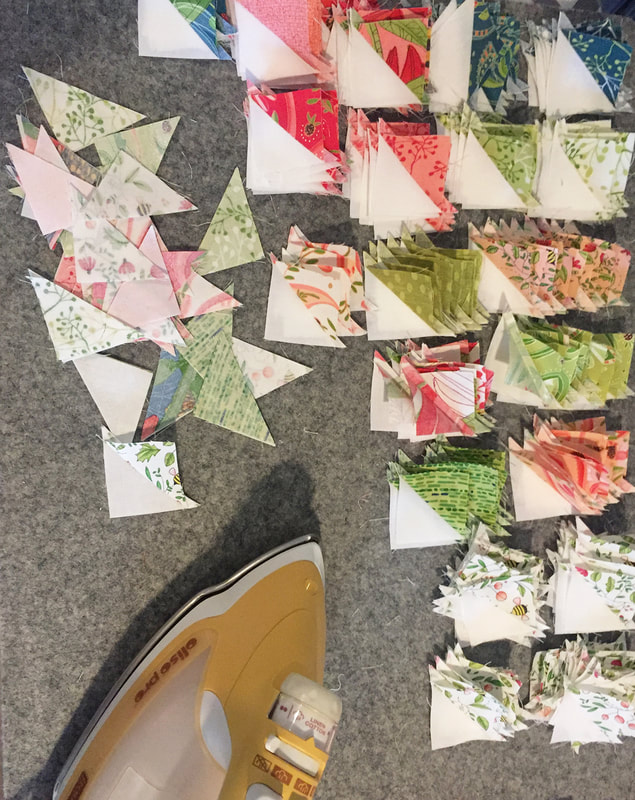 Stacks of blocks are now pressed and ready to go! 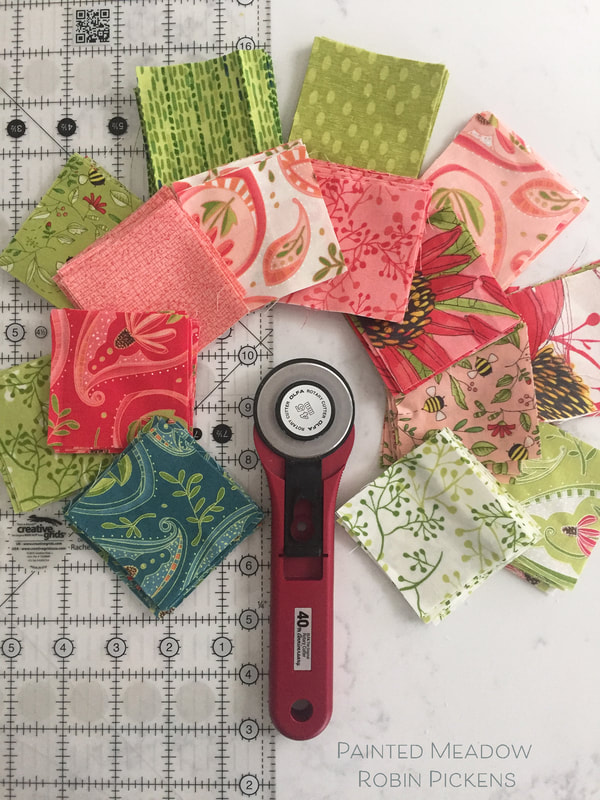 I hope you are playing along too. Check out quilters_candy on instagram and hashtag #bowtieflowerquilt and #bowtieflowerqal to see what others are doing!
2 Comments
Can you imagine a meadow with hearty, deeply colorful blooms like the red and pink sunset colors across the sky? This is what I thought of while I visited my mother last summer and we walked through the gardens. The coneflowers were in full bloom in the warm summer sun with their plump centers drawing in the bees and butterflies. 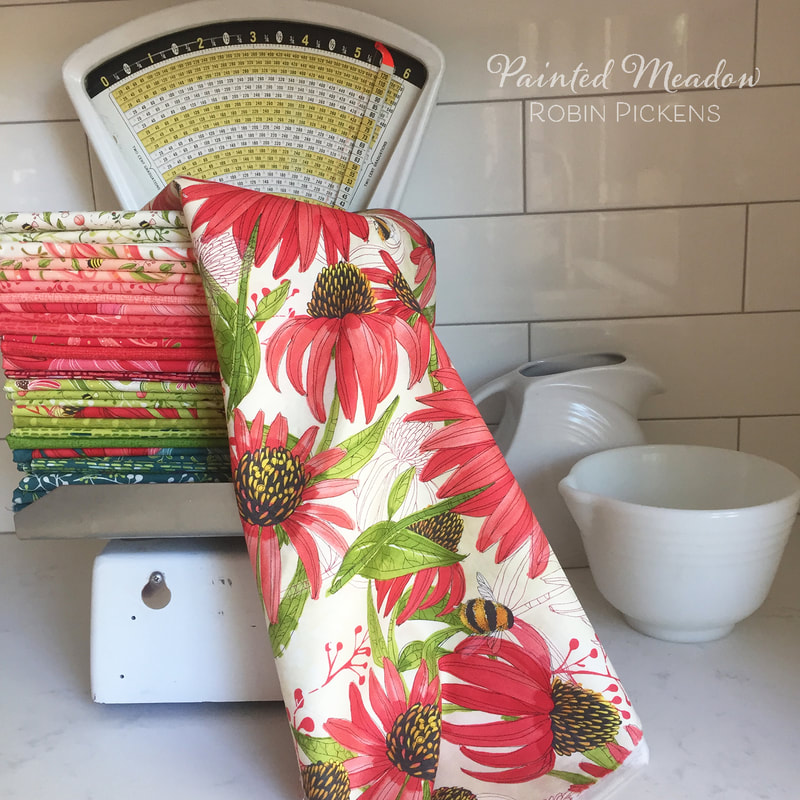  I love the proportions of coneflowers and those big full cones, full of nectar, and colorful petals that hang down with a lovely curve in warm red, fuscia and rich sunset shades. The flowers seem as if they are always looking up to the sky in anticipation of the happy sun or as a welcome for the bumblebees. 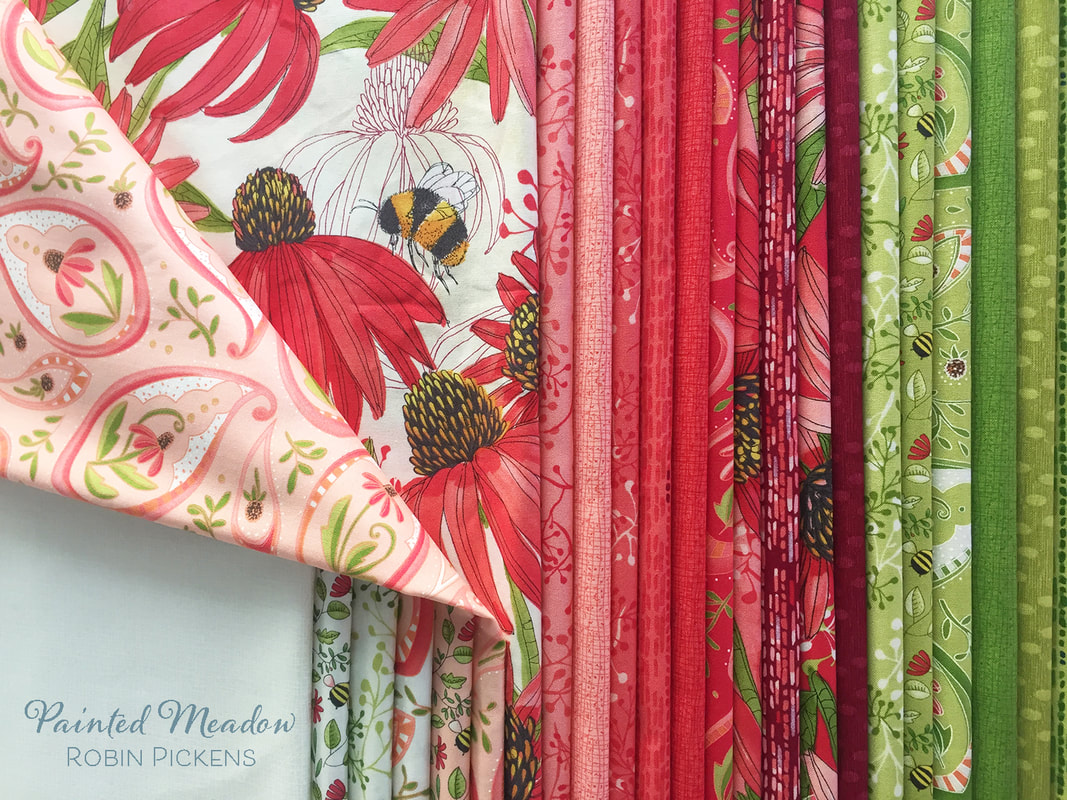 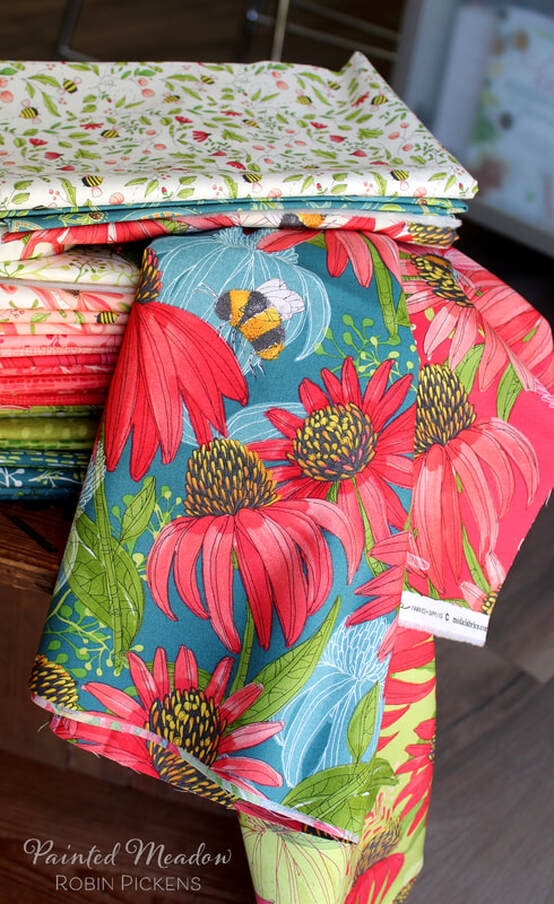 The beautiful shape of the coneflower inspired this collection and I couldn’t resist adding in those bumblebees- so plump and fuzzy, just like the flower centers! The fabric group also includes little drawings that show the coneflowers and bees in sweet illustrations or dancing within paisley shapes. Watercolor textures, sprigs of plants and sketchy oval dots compliment the lively group. 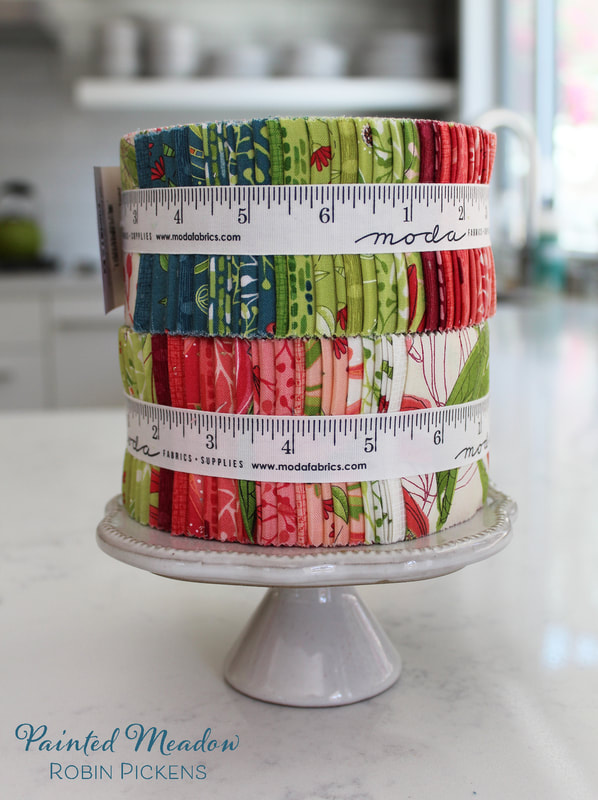 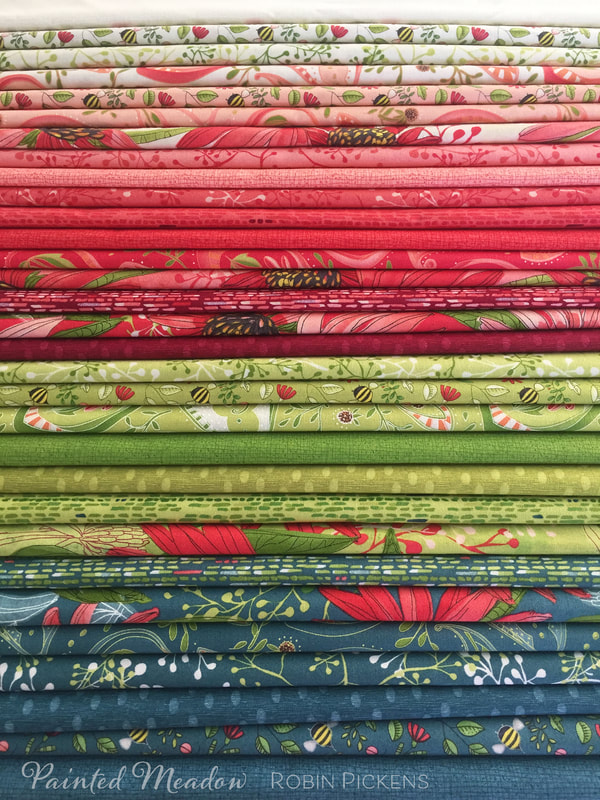 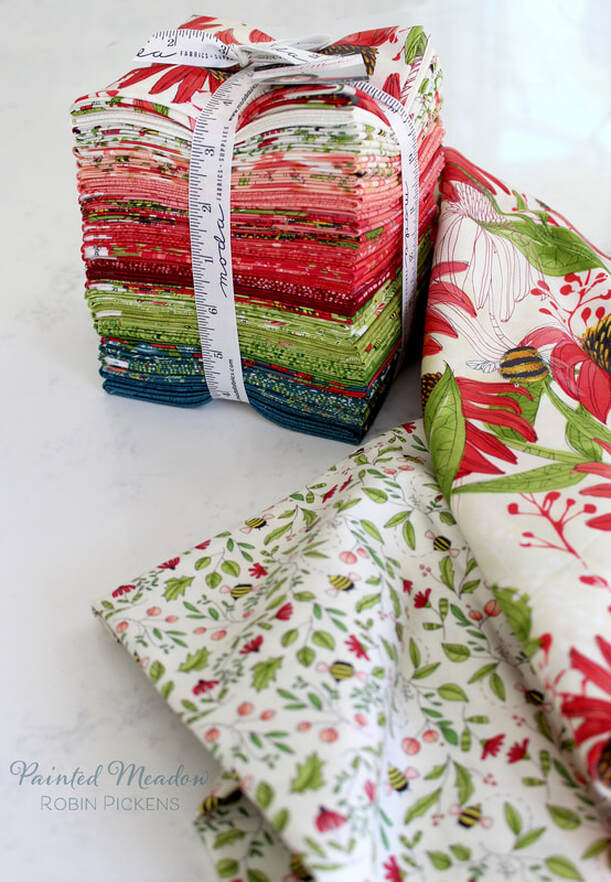 Painted Meadow has 4 colorways of cream, pinks, green and teal. It is available in precuts of Layer Cakes, Charm Packs, Jelly Rolls, Fat Quarter Bundles and Mini Charms. It was shown at the Kansas City, MO Quilt Market 2019 with Moda Fabrics and will be shipping to quilt shops in October, 2019. 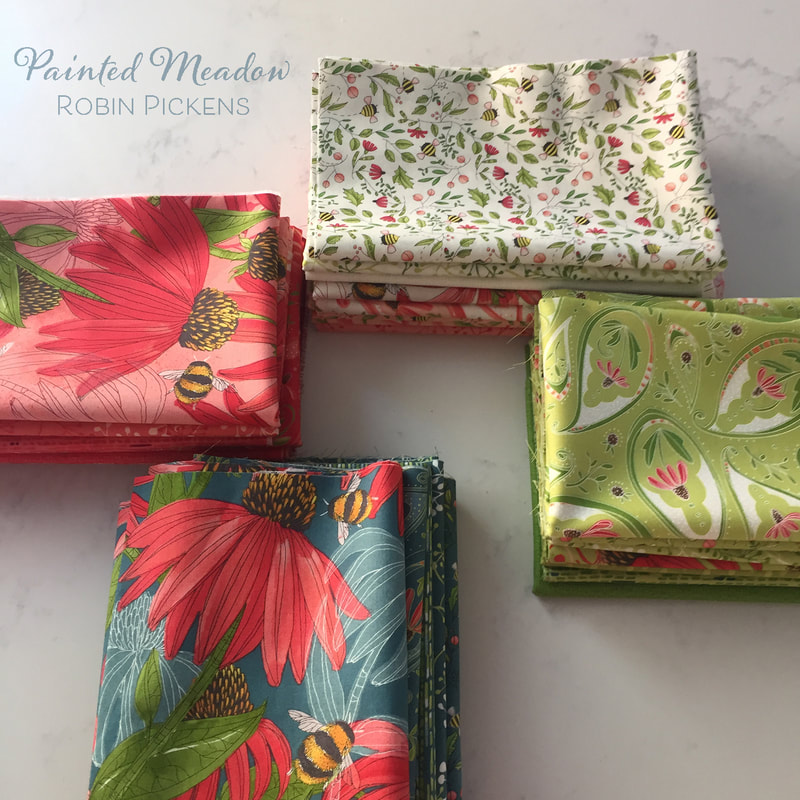 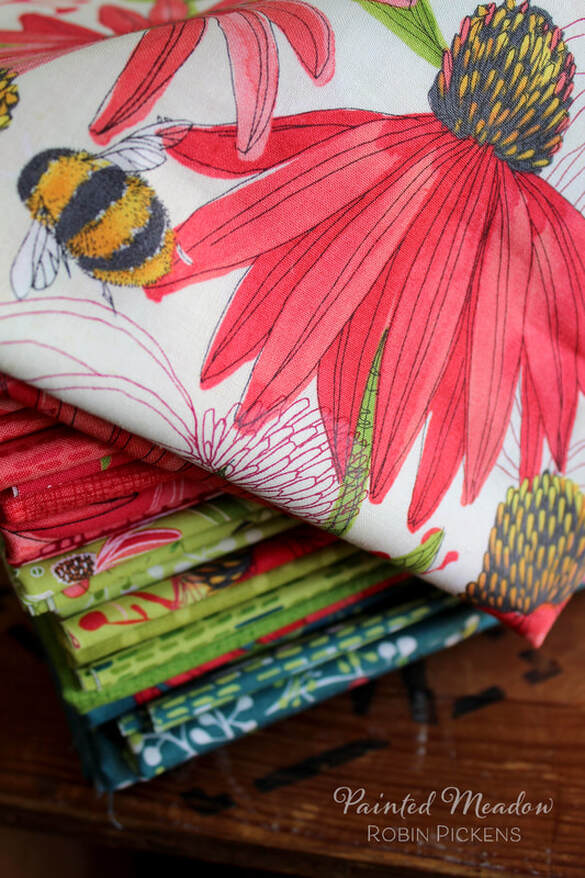 Enjoy the sunset colors of Painted Meadow with coneflowers and the buzzing of plump bees as you feel the warm summer sun… 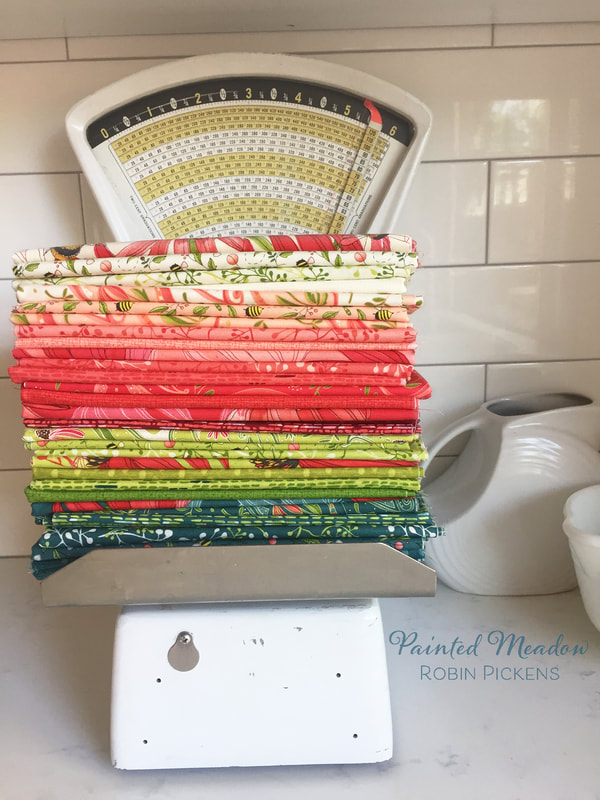 I wanted to create a smaller version of Showering Stars that could be used in home decor for pillows and table decoration. Scaling the stars and trails down to half size made it possible to design with these elements for my Splendid collection in Christmas pillow covers and a table runner. 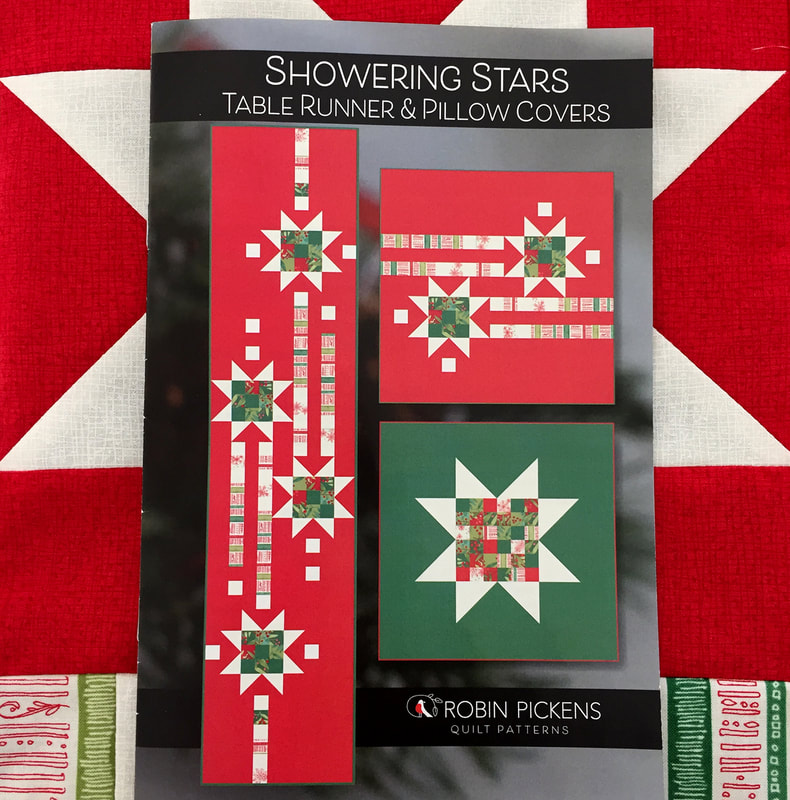 I find I do most of my holiday decorating with red and the red textured background in Splendid is rich and vibrant. I love it! The whites are the cream texture which has a subtle sheen when you see the white on cream background. Simple patchwork blocks and a few longer strips make the trails and patchwork and flying geese make the stars. 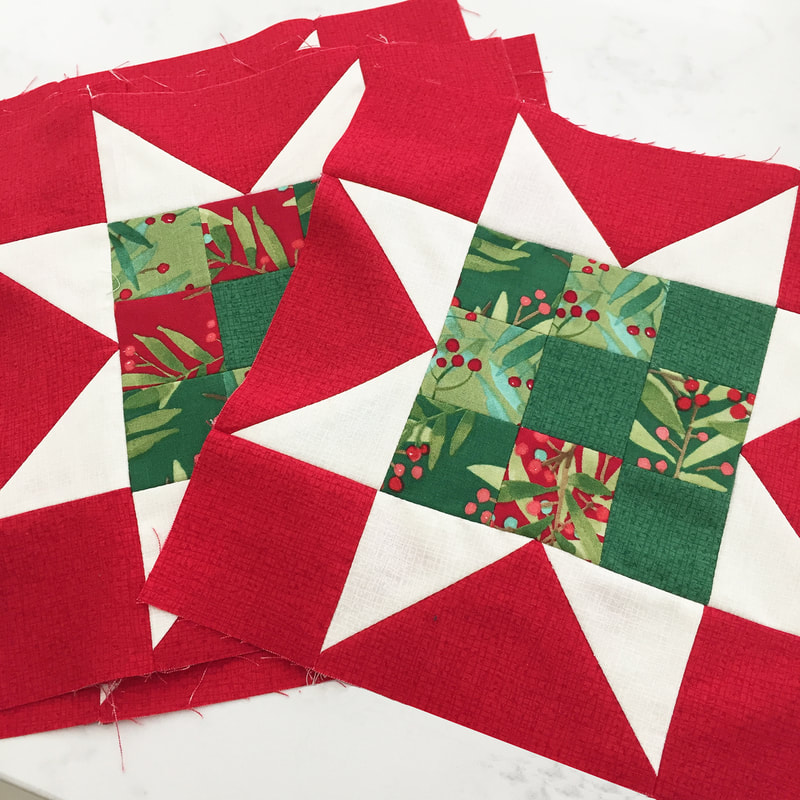 I like playing with the mix of scale by having the double stars pillow and the giant star pillow with a much bigger star. The pattern includes directions for making a simple envelope back for covers and its sized for a nice substantial 26" square Eurosham size. 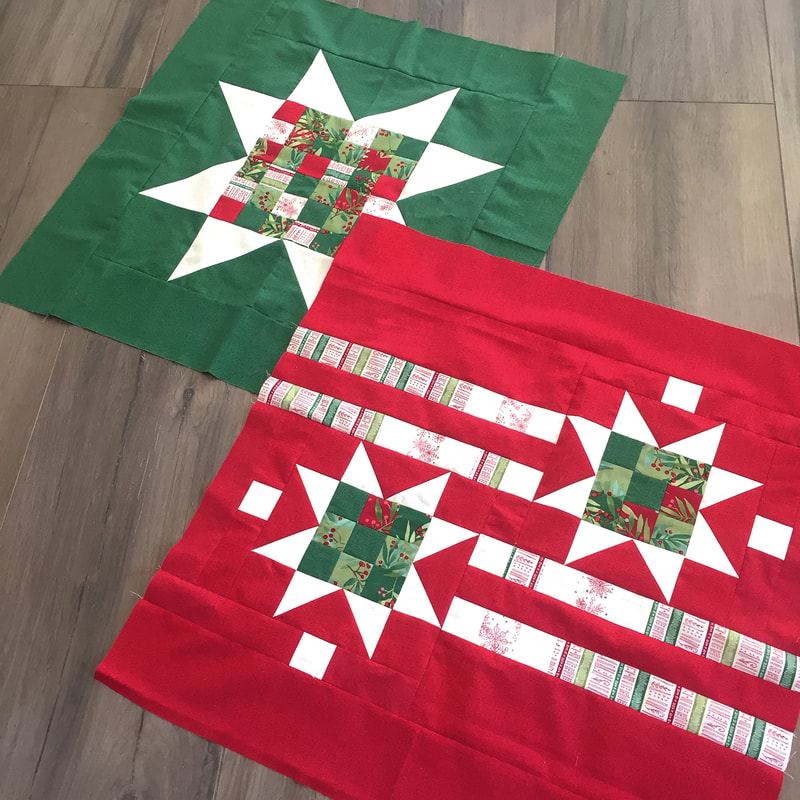 The table runner is sized 16 1/4" x 71". If you wanted a shorter runner you could crop off the trails on the ends or even just use the center stars with trails (making it 32-36 inches long, depending on if you include the last white blocks on the trails). 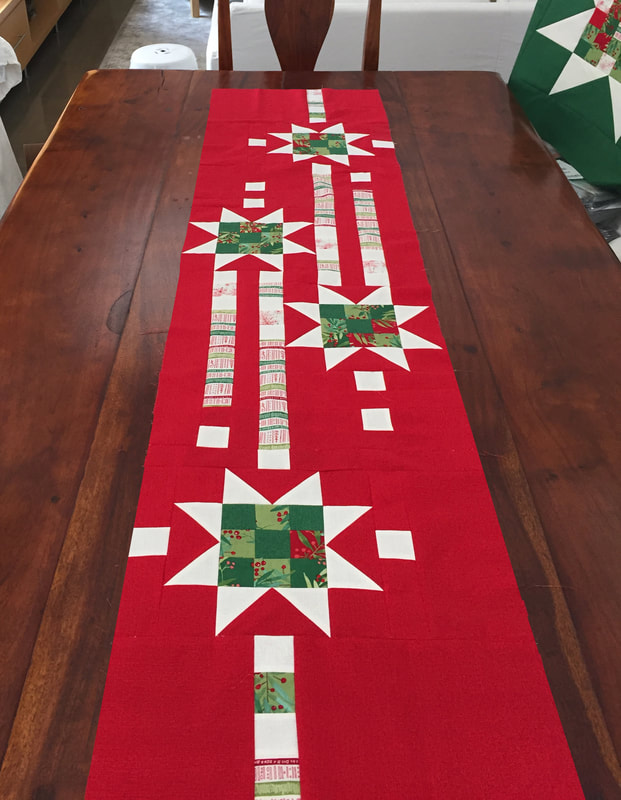 One thing that was really touching to find out about my original Showering Stars pattern was that numerous people have made it up in patriotic colors for Quilts of Valor. I love this idea! I've also mocked up these pillow covers and runner into red, white and blues to give some additonal inspiration for those that want to explore a more patriotic theme! I'll share those on the next post! 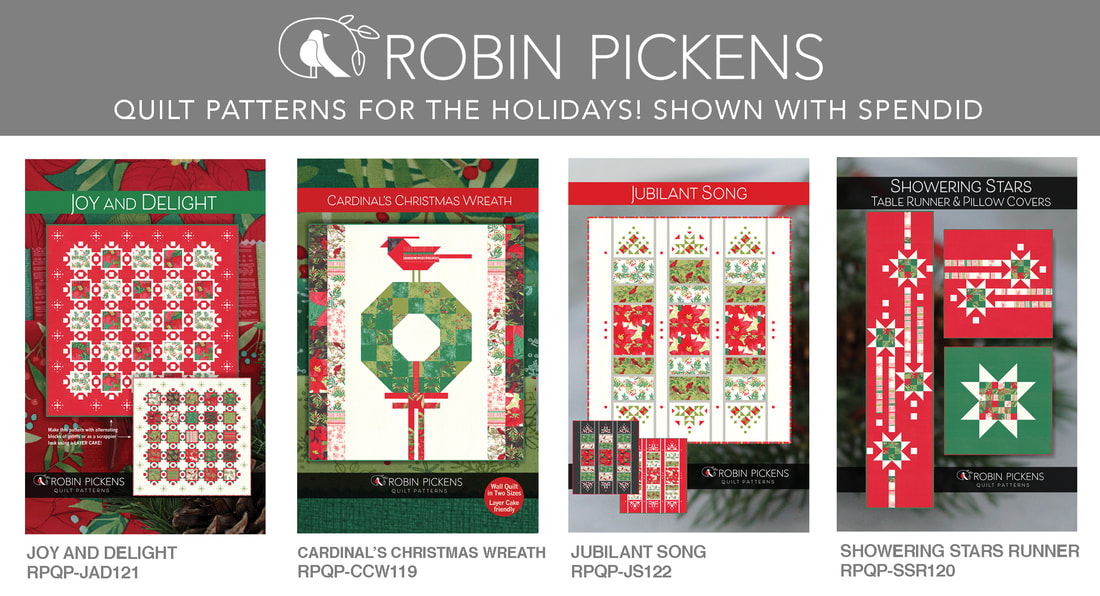 Check out my three other new patterns that use Splendid on my store at shopify and lets get sewing for Christmas!
Joy and Delight is a new pattern I designed with my Splendid Christmas line for Moda Fabrics. I wanted a quilt that showed off the fun mix of fabrics in a layer cake with decorative frameworks for the blocks. But I also quickly decided it was also a good format for alternating blocks of two fabrics- as shown below- my mistletoe greenery and poinsettias which pop nicely against the saturated red texture in the Splendid fabric line. 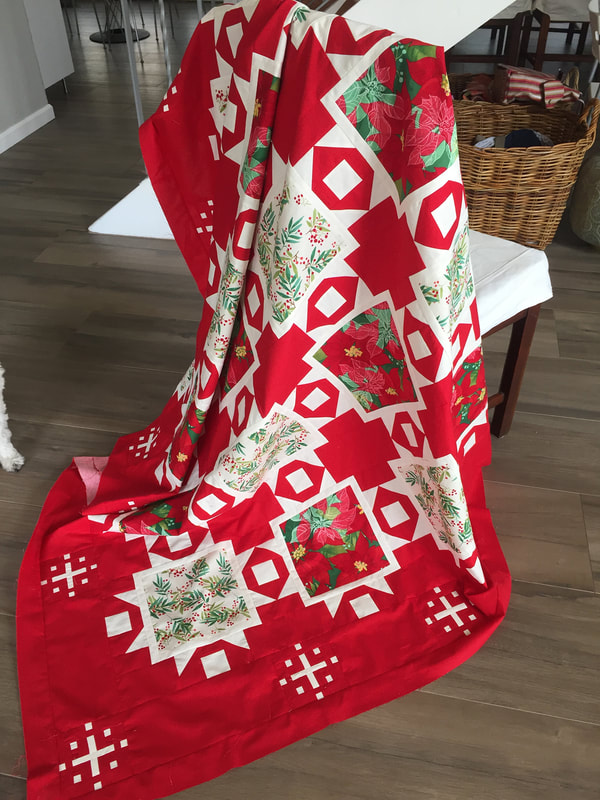 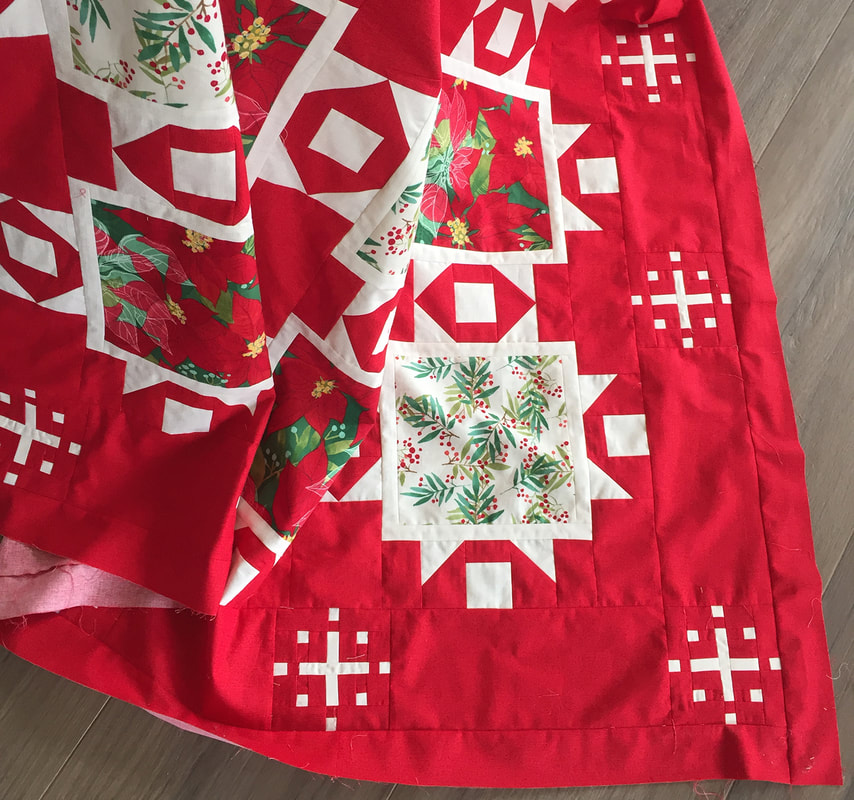 For an extra pop of wintery fun I decided to have graphic snowflakes surround the outer border. Afterwards I thought this could even be fun for 4th of July in reference to fireworks! The snowflakes are made with subcutting joined strips so they actually go together rather efficiently. There is something really satisfying about making a big pile of snowflake blocks! 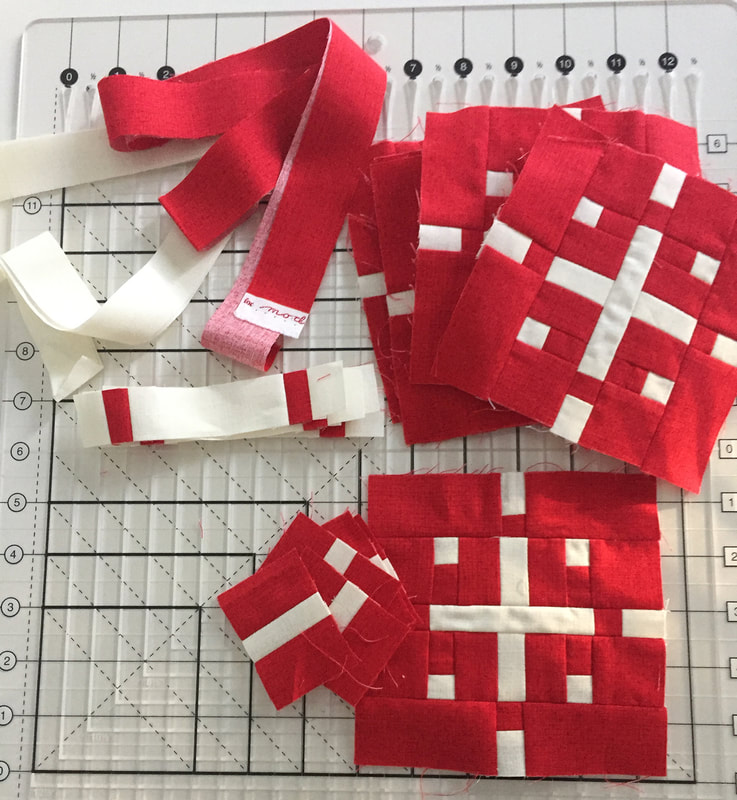 I found the Stripology ruler from Creative Grids was a handy tool for making lots of smaller cuts in an efficient way! 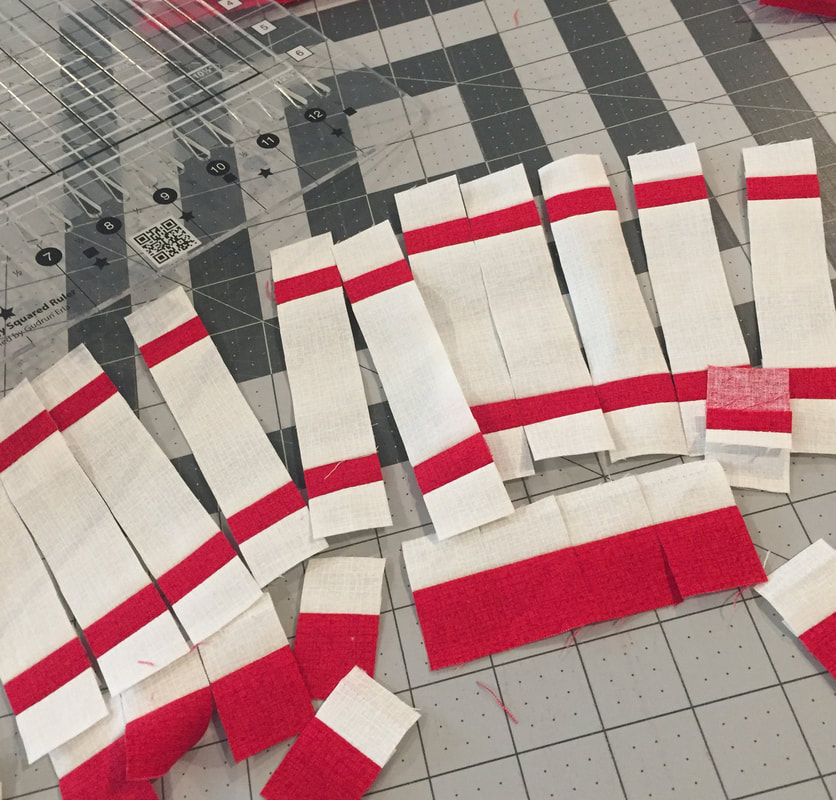 And here are blocks with flying geese and framing in progress. 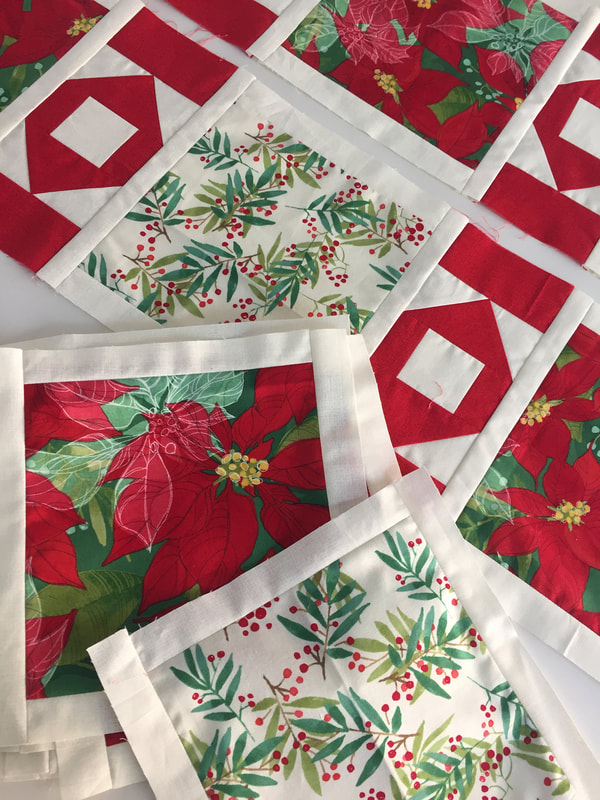 This is a scrappier looking version of the quilt- the original concept using the mix of a layer cake. On this one the framing around the squares is in two colors- red and green for Christmas- and the snowflakes are in a more olivey green. This is next up on my list to make! 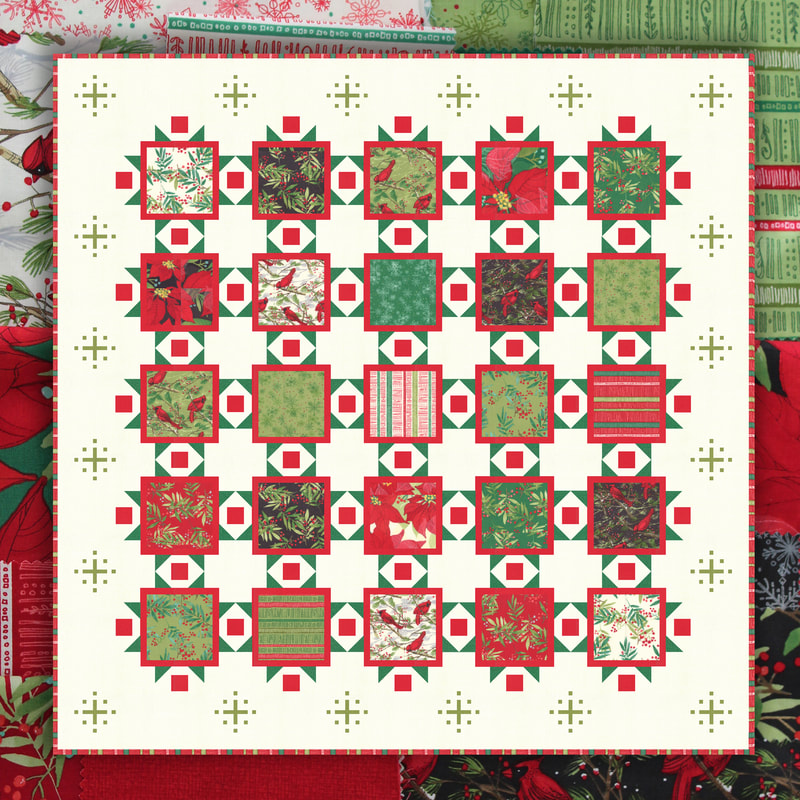 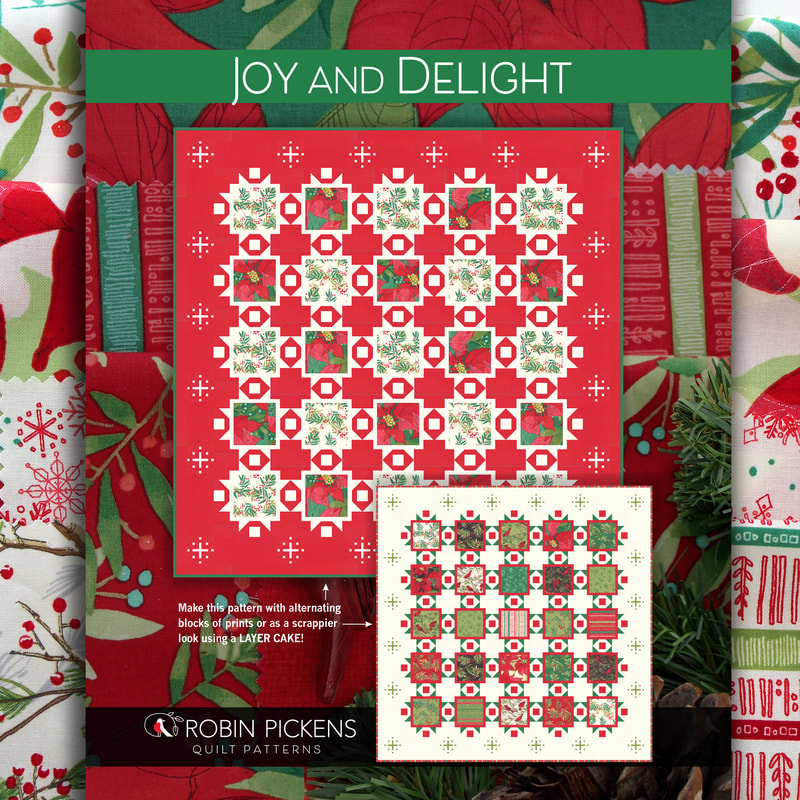 Check out Joy and Delight along with the other three new patterns to go with Splendid in my shopify shop. Lets get some Christmas projects going!!  This group of patterns for Splendid needed a quilt with some larger sections to show off the poinsettias and cardinals without cutting them up to much. I liked the idea of vertical columns that showed a few of the prints with the pointsettias as the main center. 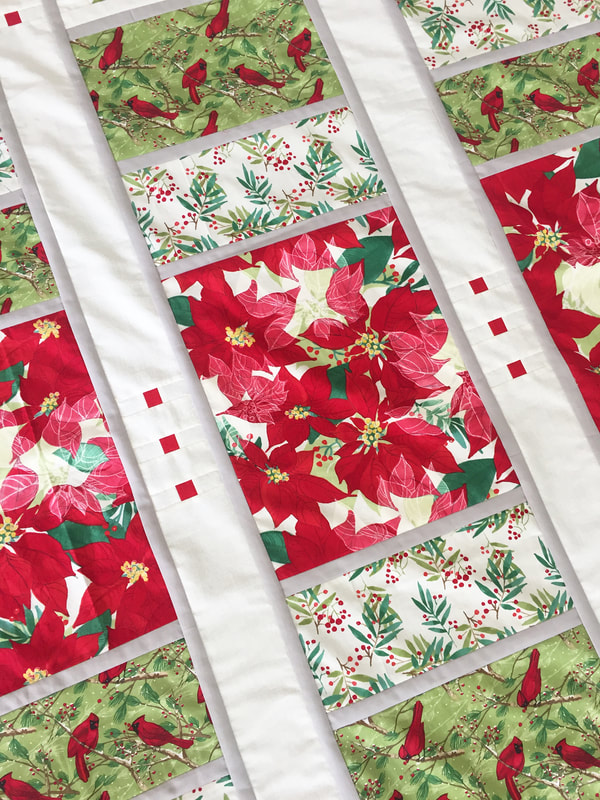 To balance out the large panels, I liked adding smaller pieced blocks, arranged into elegant and lacy compositions, to form as a decorative top and bottom to the columns. Thin sashing, like window edges, run the length of the quilt. The result is a group of three columns, reminiscent of church windows, with light flooding through the stained glass images. They seem grand and ceremonial and festive for a celebration. 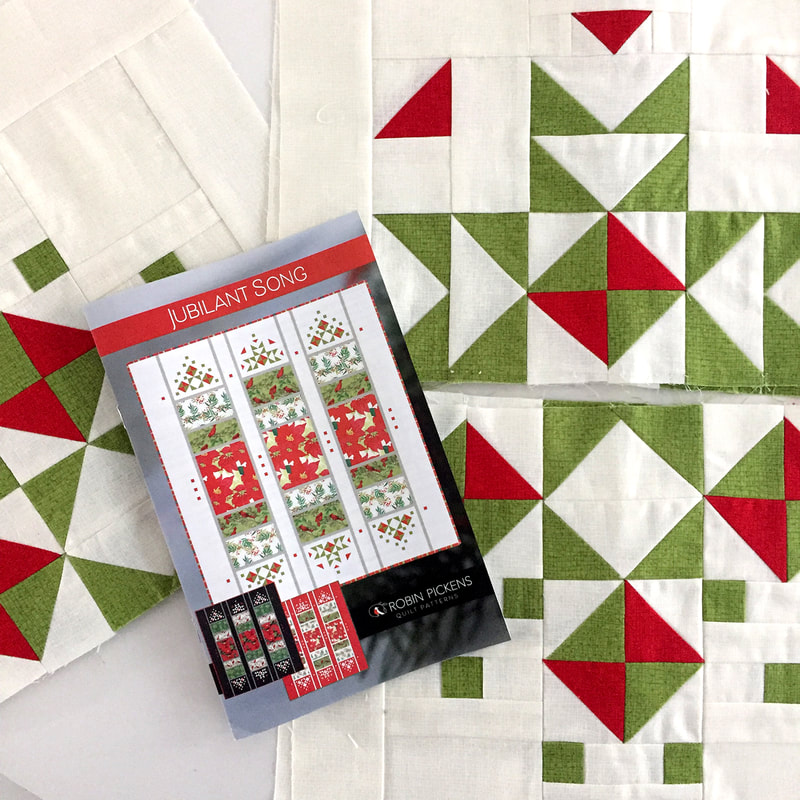 Many thanks to The Felted Pear (Susan!) for helping me with this and making those flying geese and HST and assembling the ends! 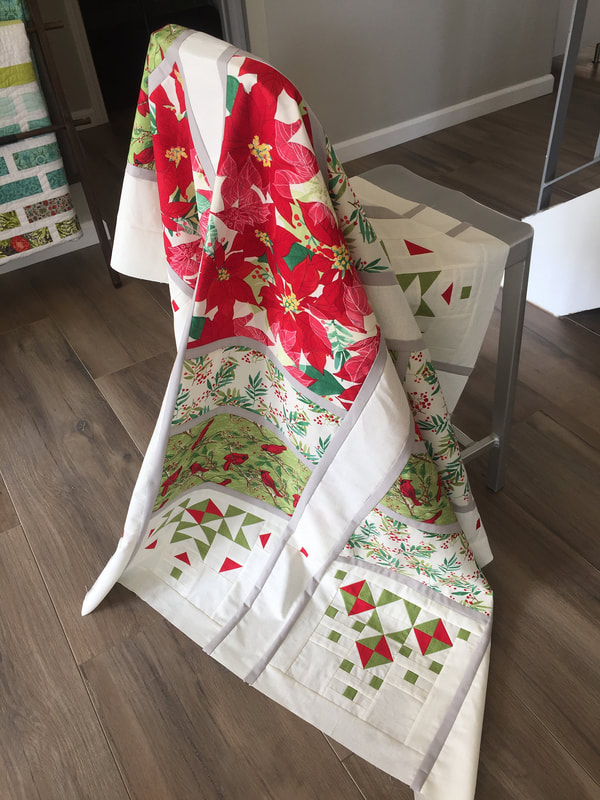 Nature celebrates Christmas with Splendid. I feel like I can hear the jubilant song of either the church choir or the choir of birds out in the trees. This quilt pattern in mocked up into three color versions in the pattern- cream, red, and charcoal. Although this is shown with Christmas fabrics, I think it would be striking with other large scale prints, like the William Morris fabrics that Moda produces with rich jewel tones. 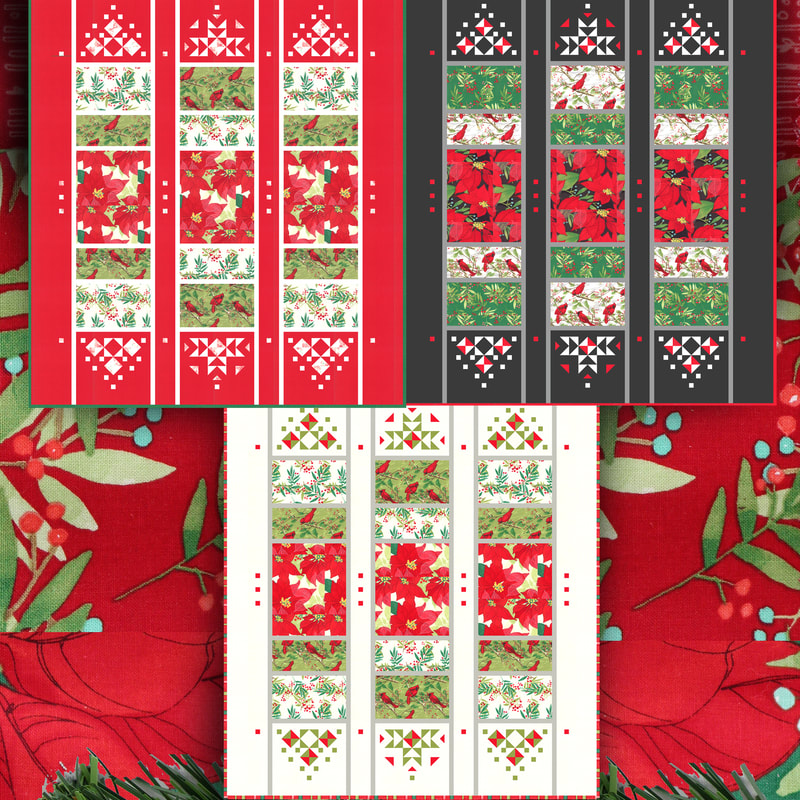 There are four new patterns I'm sewing for Christmas quilts with Splendid. Check out this and the others: Joy and Delight, Cardinal's Christmas Wreath, and Showering Stars Table Runner and Pillows at my shopify shop. 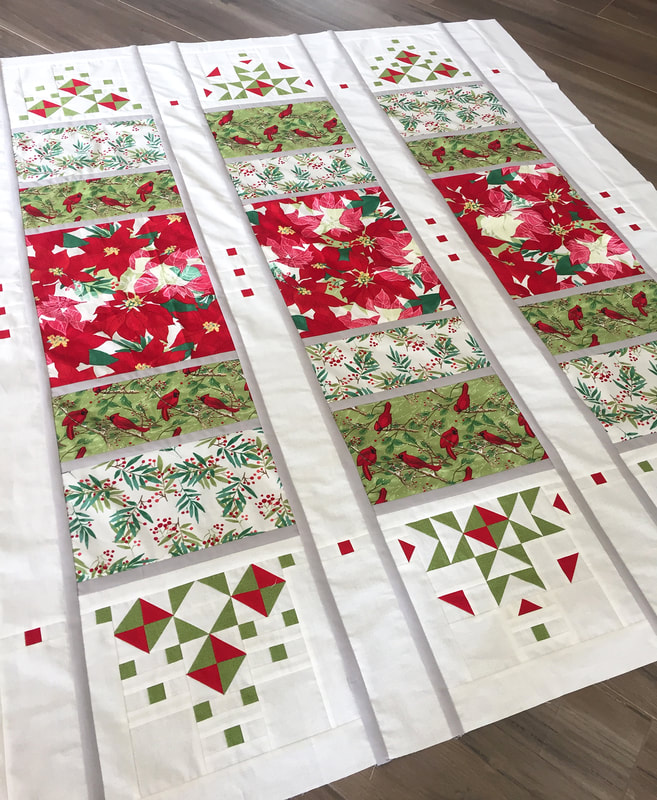  There is something so focused and calming about the symmetry of a design that radiates from the center. The Faceted quilt is formed off a central diamond, radiating out in rows of light and dark. But one of the things I love about it is the unexpected play of smaller triangles within the larger rows. 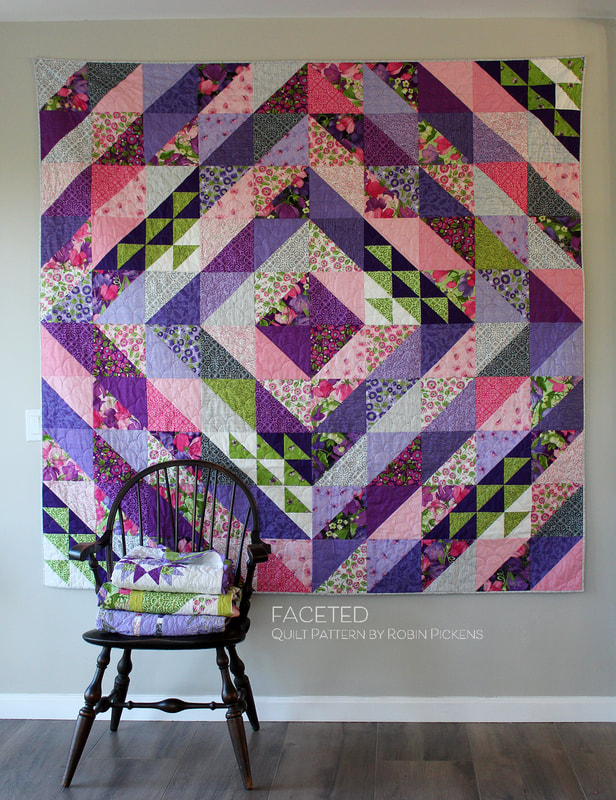 I imagine the way light glints through cut crystal or diamonds. That was my inspiration for this quilt, the way light dances within geometric facets and angles. It scatters out triangular light patterns in pretty lacy patterns. 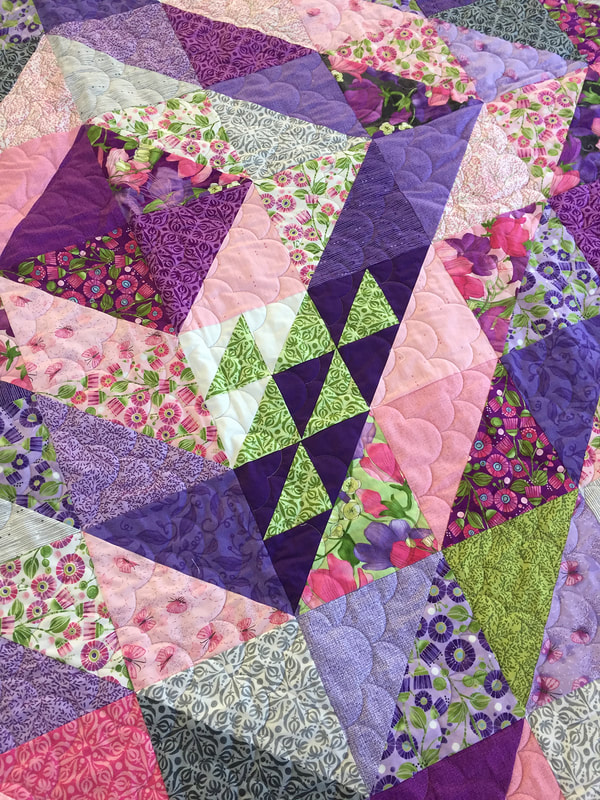 Sweet Pea & Lily fabrics fell nicely into two groups to create the light and dark rows. Every so often and accent color adds an additional pop of color or pattern. I liked the play of purples and grays in the overall quilt and decided to use green as my accent within the quilt. 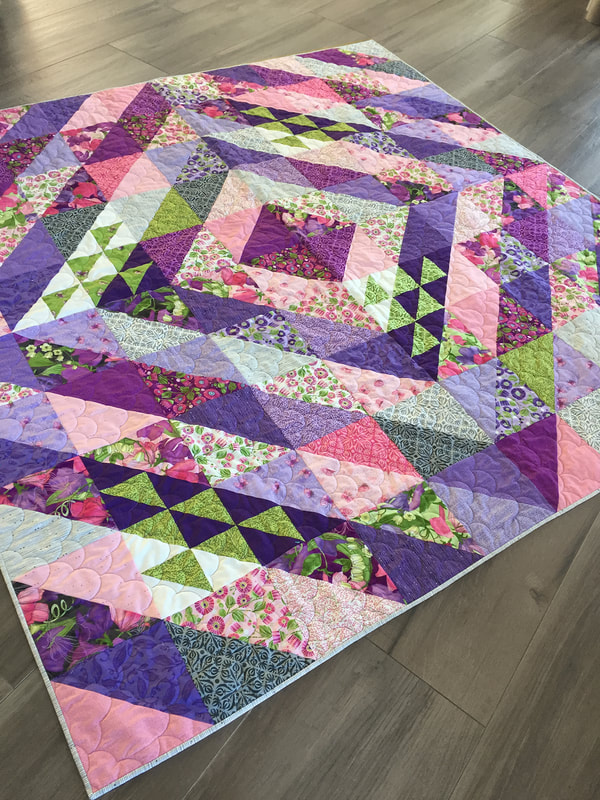 The pattern uses Fat Quarters for the prints. Moda kitted Faceted so be sure to check with your local quilt shop if you are interested in making it in this fabric combination. The kit gives you some extra fat quarters so you have room to play plus leftovers for other projects. 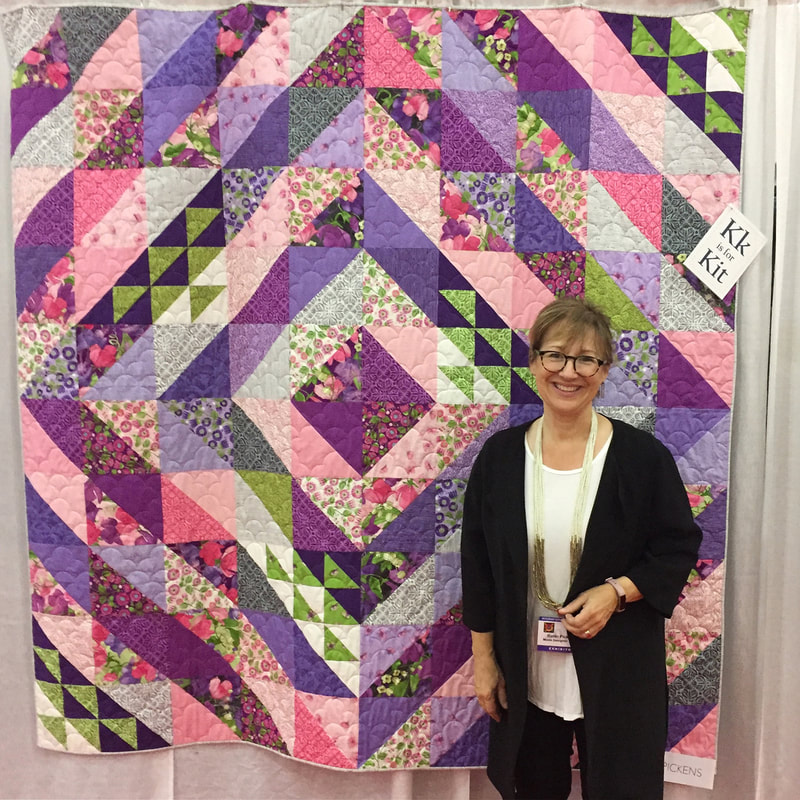 Enjoy a diamond today and the light facets within! The larger size of half square triangle blocks makes this quilt go together relatively quickly. The Faceted pattern is available in local quilt shops and in both printed or digital pdf at my shopify shop.  Want to see more patterns using Sweet Pea & Lily? Check out more of my quilt patterns that released with this line on my blog or at shopify! Happy sewing! 
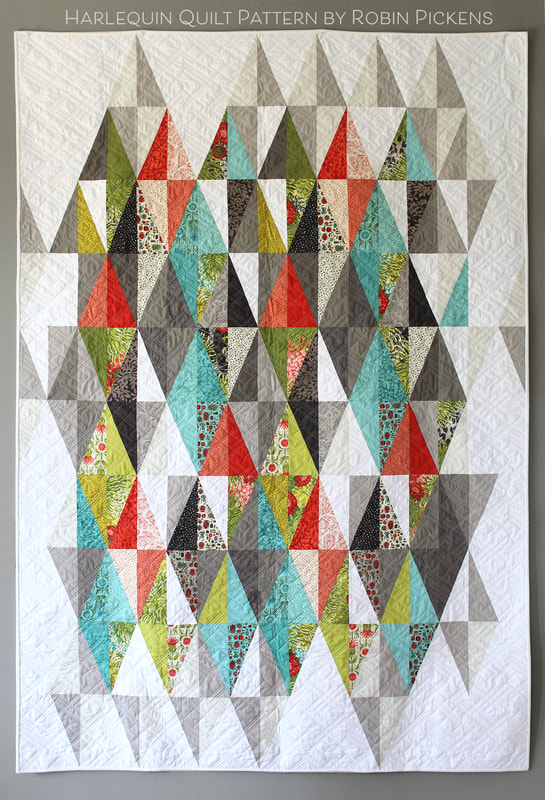
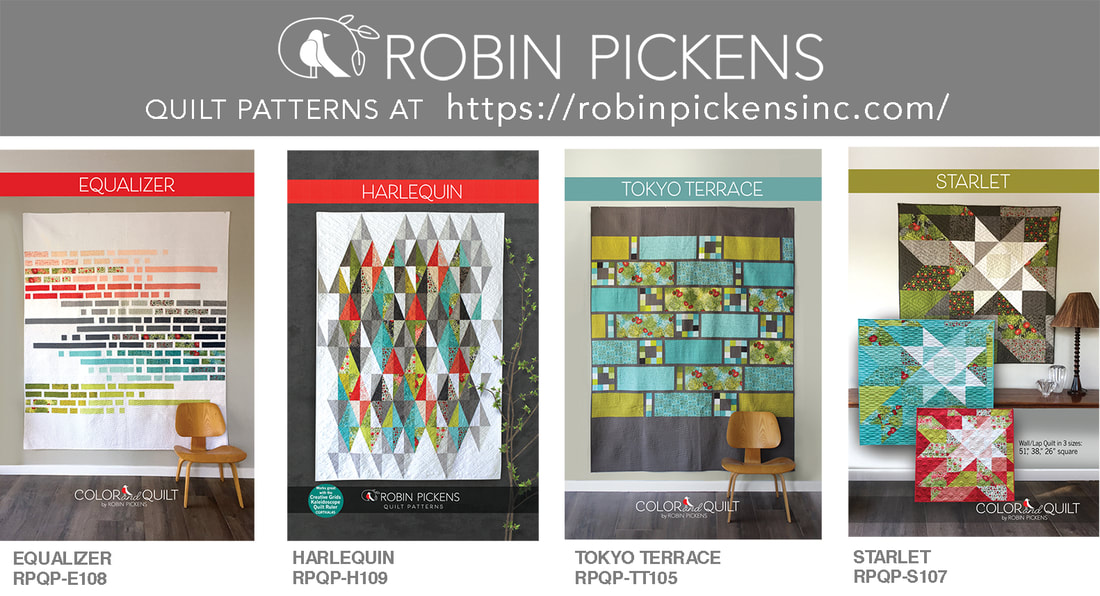
Harlequin is a quilt pattern I designed that uses Half Rectangle Triangles and I get quite a few questions about which ruler I recommend for it. The pattern does come with a paper template so you can make your own plastic template for cutting out the shapes. However, it is easier with a specialty ruler!
I love this quilt because it symbolizes collaboration and community to me. I had it pieced by Terry Bowman because she is more accurate and more experienced than I am and before Quilt Market we have a LOT of sewing to do in a small amount of time. So luckily for me, Terry was willing to help me out. We met at the Quilt Emporium and Lisa, the owner, also came to the rescue by getting her Bernina out of her car so we could sew up some samples in the back classroom. Lisa saw us figuring out the rectangle size that would make sense and she brought over the solution...the Creative Grids Kaleidoscope Triangle Ruler. It was a great moment of brainstorming and solutions coming together and that is a lot of what is so exciting about sharing the experience of sewing and quilting with others! Quilters are often collaborators in creative ways.
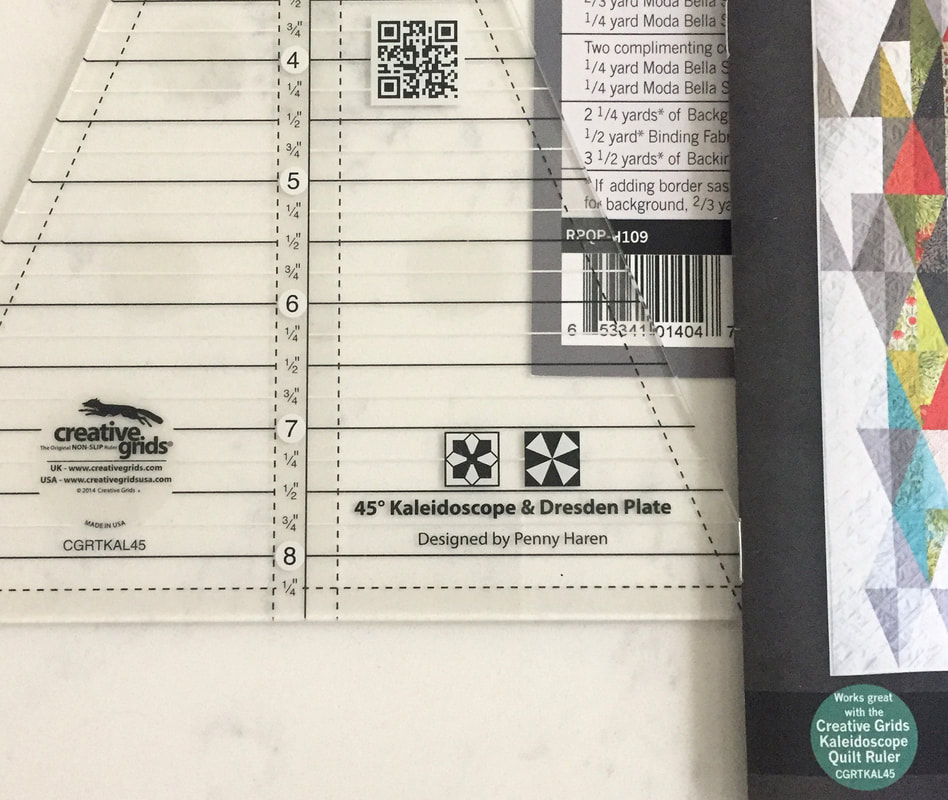
The ruler is the actual height of the pieces you cut for this quilt so it really works with the pattern well. Thank you Penny Haren for designing this lovely tool! Just like other Creative Grids rulers it has some circles of texture on the back to help hold fabric without slipping too.
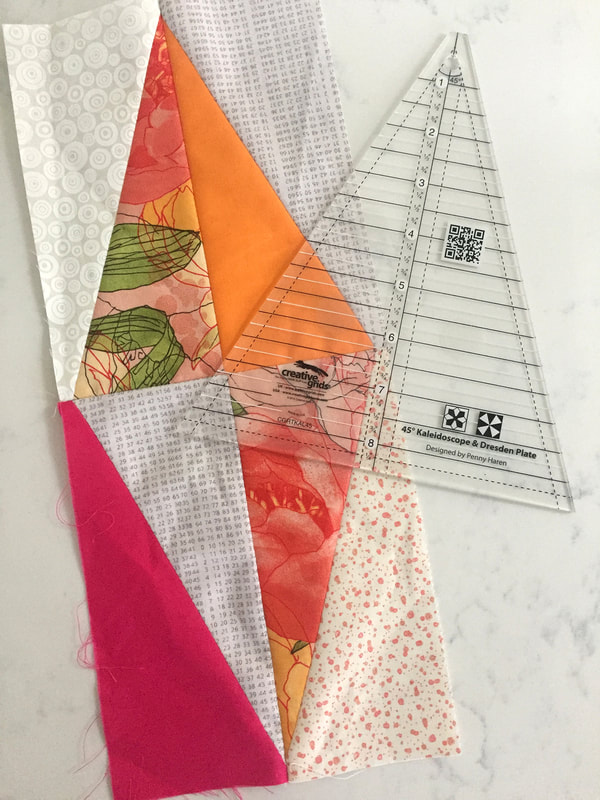
Any time you are making a block that is new to you or different in trimming, etc, I suggest you make a sample block first. Some of my first samples are with my Blushing Peonies left over scraps and I am hoping to go back and make a nice springy version with pinks and oranges in my "spare time." You know how that goes... I did make this block first and make mistakes on the trimming and had to start a new one. So I'm serious when I recommend making a sample and measuring your block size end result before progressing on a pattern. It can make a big difference! Half Rectangle Triangles need to be trimmed up in a particular way so you have correct seam allowance to maintain your triangle points.
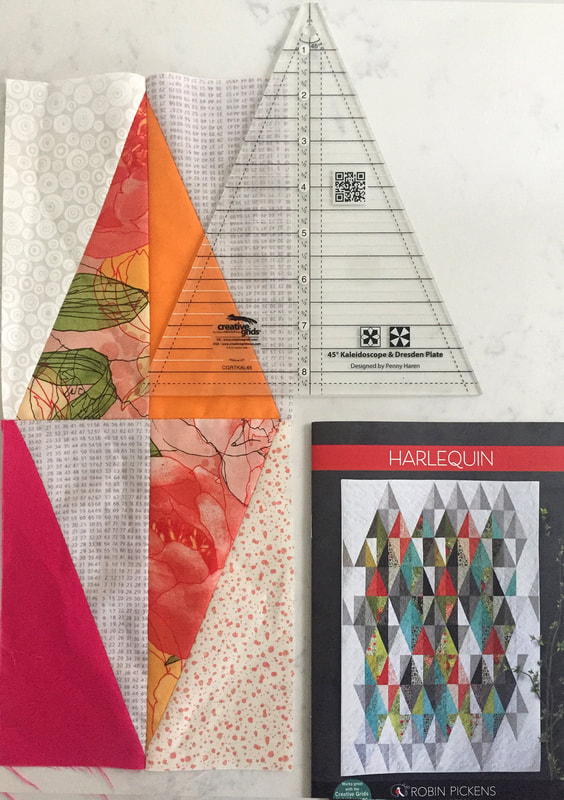
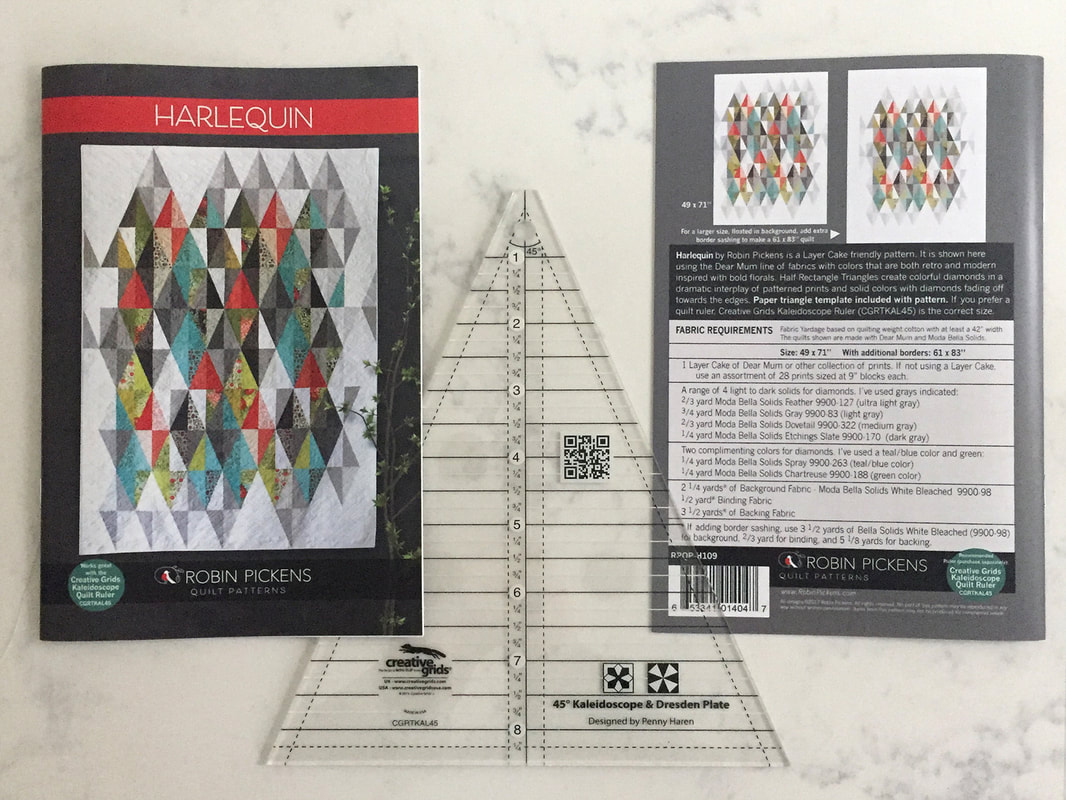
Check out the Harlequin pattern at my shopify store!
Please note, links for products to other sellers may go to an affiliate program.
Layers cakes and Half Square Triangles. Fun and lacy borders. Meet "Emilia"! 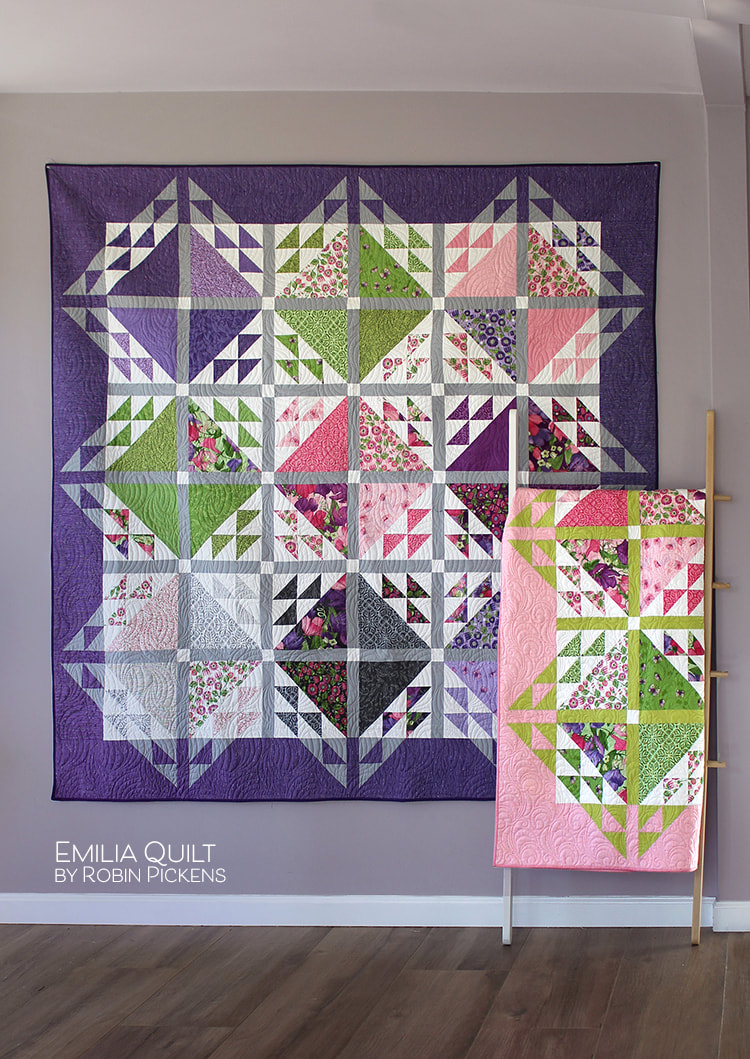 This quilt uses Layer Cake 10" squares to make large triangles and reflected small triangles on the opposite side with the same print. I've grouped them into color blocks. If you don't have a layer cake to use, you may want to make your cutting easier to start by using Creative Grids Perfect10 Ruler (CGRPERF10) to make those nice sized starting blocks! 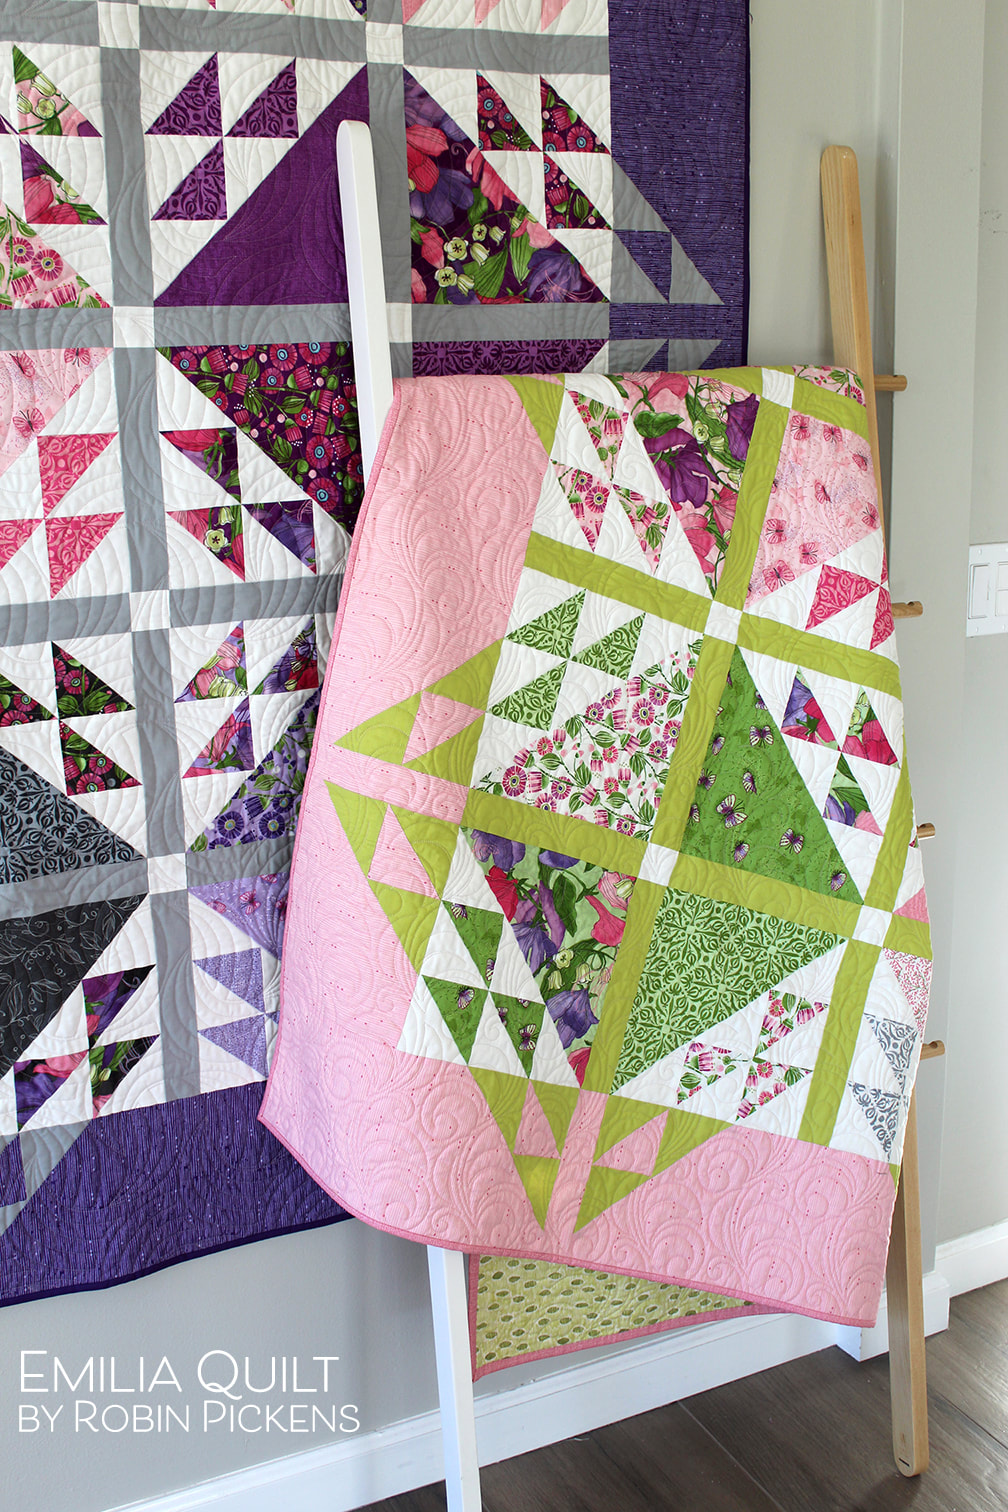 One of the distiguishing characteristics of Emilia is the borders. The half square triangles continue out into the side borders, using the sashing color, to make a lovely triangular lacy edge. It makes the whole quilt almost sparkle! Wouldn't this pink version be pretty in a girl's room? I focused on pink, green and lighter purple shades for this one. I used a chartreuse green for the sashings but a minty green would be pretty too. 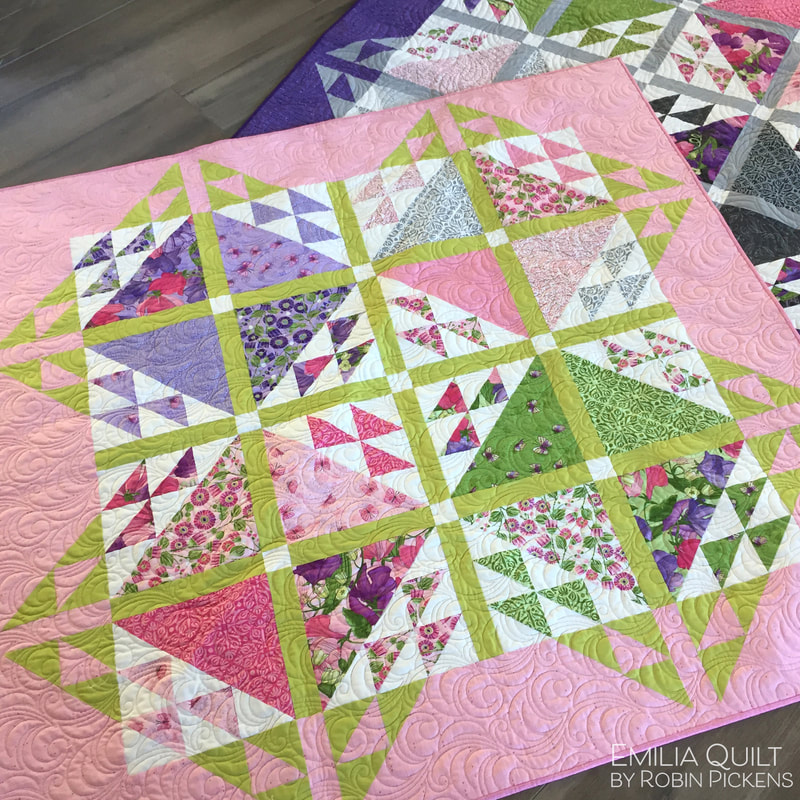 Emilia is written for two sizes, a larger, 76" square or smaller, 55" square lap size. You can easily adapt the pattern to add more rows of blocks if wider sizes are needed. 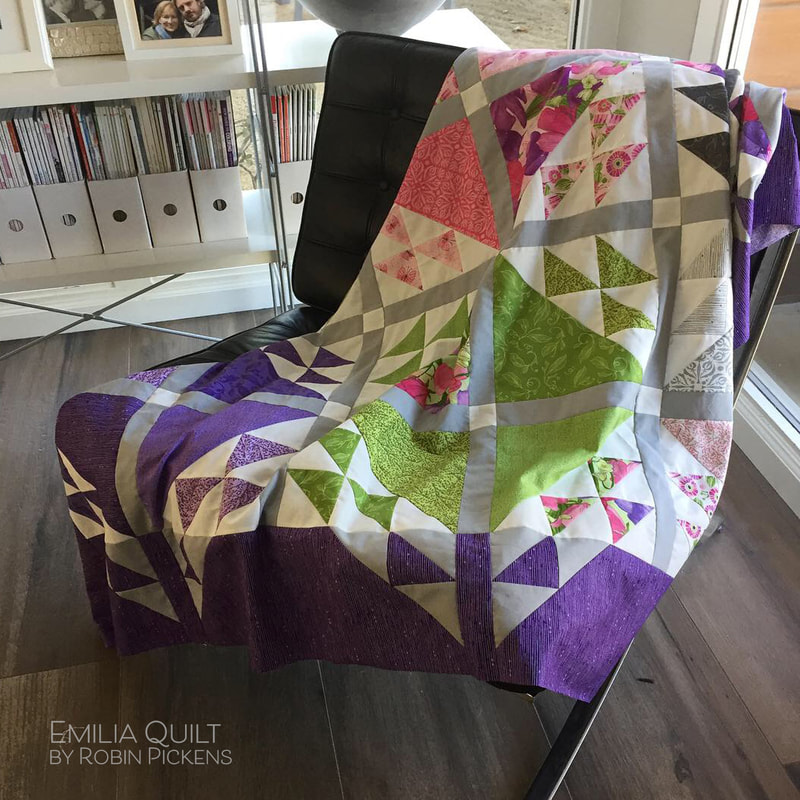 Emilia was designed to show with the Sweet Pea & Lily collection, which is shipping in March 2019 to quilt shops. But since I have Dandi Annie here...and its in stores now, I thought it would be fun to take a look at how Emilia might look in some summer Dandelions! These computer renders are some color play to look at the pieced blocks and how the quilt changes looks with the sashing and border colors. 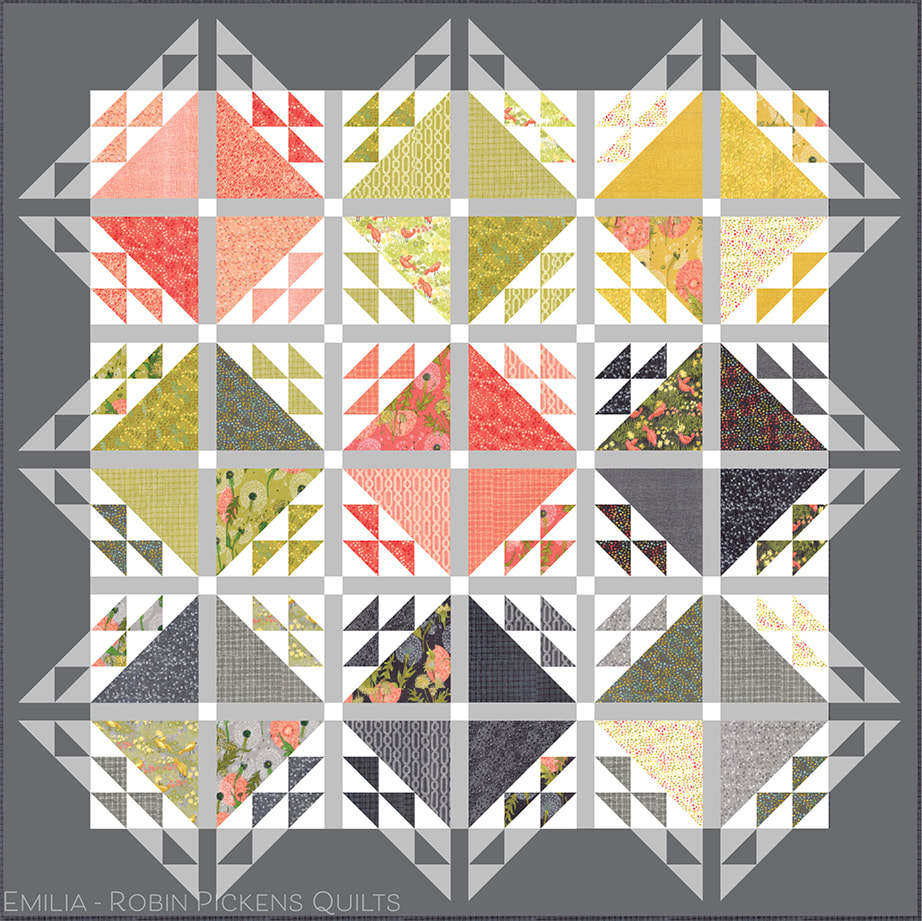 I think I am partial to this darker gray border. I would use Moda Bella Solids Graphite 202 for this. I think the Moda Bella Solids Gray 83 would be nice for the sashings and border triangles. 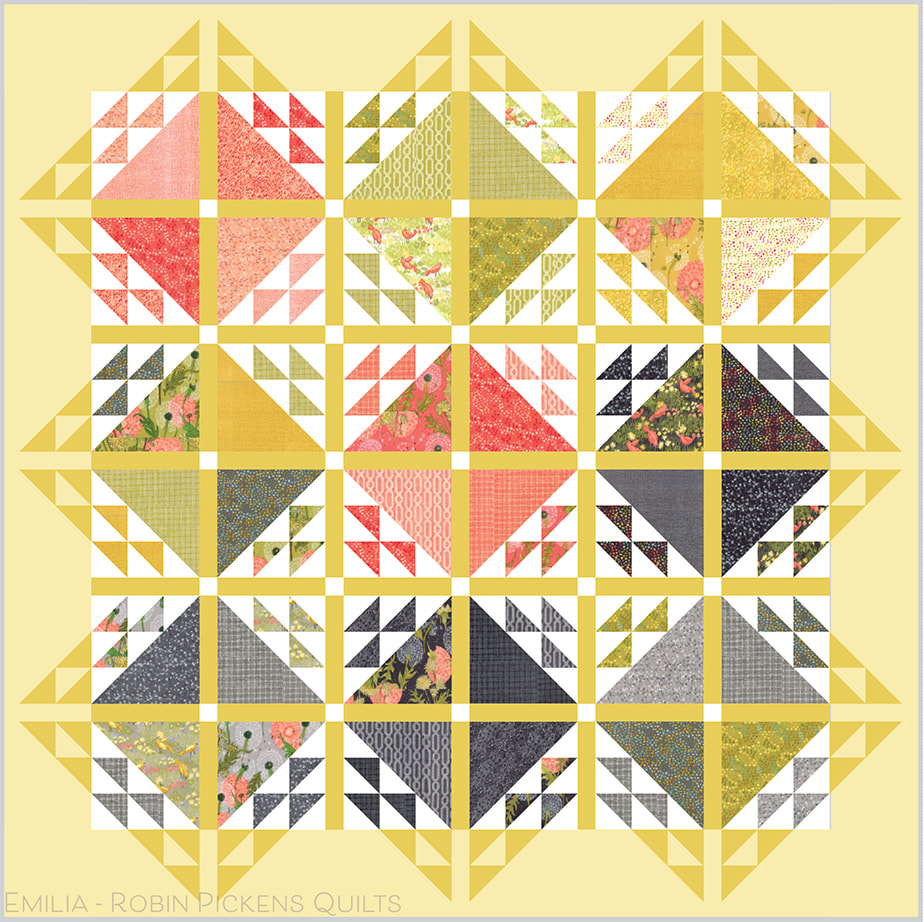 This makes me think of a sunny summer farmhouse day! Moda Bella Solids Baby Yellow 31 and Maize 273 work nicely together with this line. 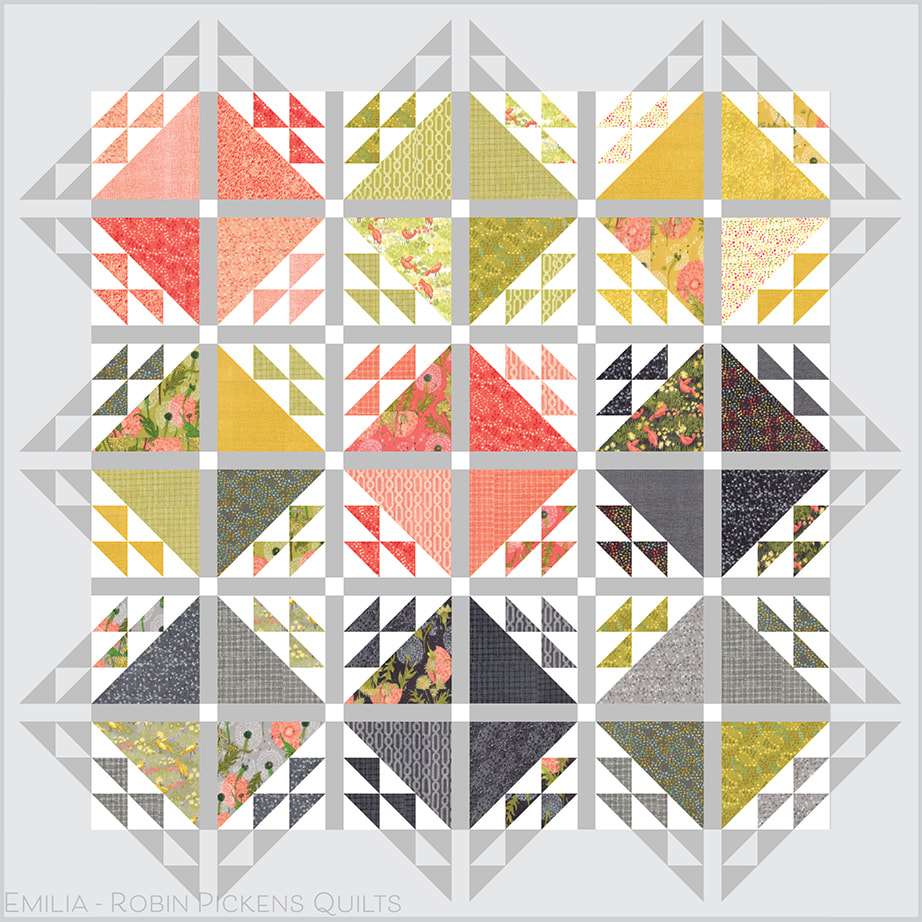 And back to grays with a lighter version of border. I like having a slight difference to white so the inner triangles pop and sparkle more. Moda's Bella Feather is a lovely very very pale gray, close to white. 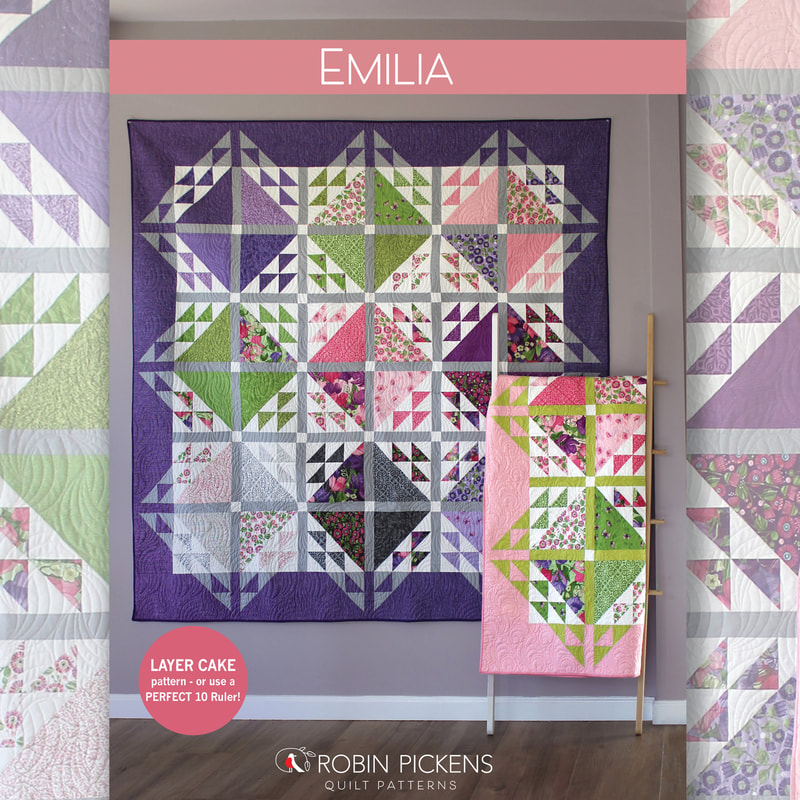 Emilia can be found in local quilt shops or at my shopify shop. I hope you have some fun with half square triangle love and border play with this one! Happy sewing! For more ideas for Sweet Pea & Lily or Dandi Annie, take a look at more patterns...   Jelly Roll-friendly and quick to piece, this Showering Stars quilt is full of drama! 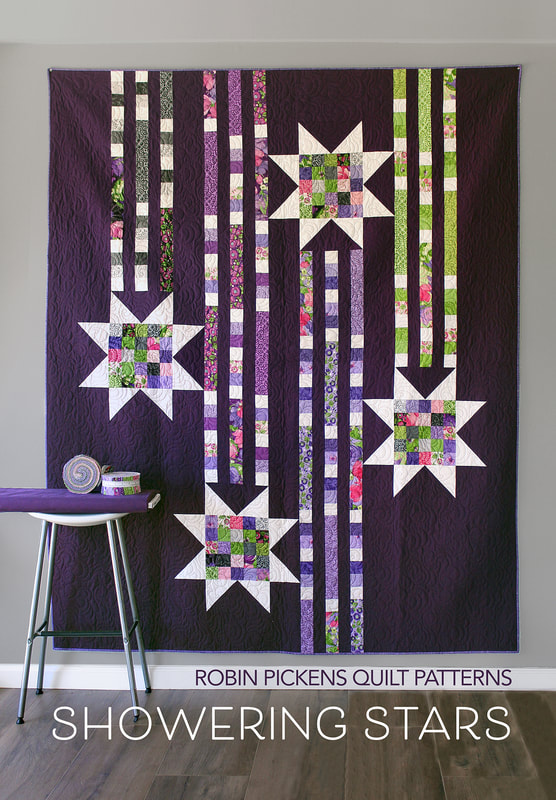 I knew with the Sweet Pea & Lily collection for Moda Fabrics (ships in Feb/March 2019) I wanted a quilt that used deep purple to enhance the theatrical nature of the purples in the prints. One thing I enjoy with this group is the purples are in both cool and warm purples. I needed to find the right deep purple to show off their splendor. 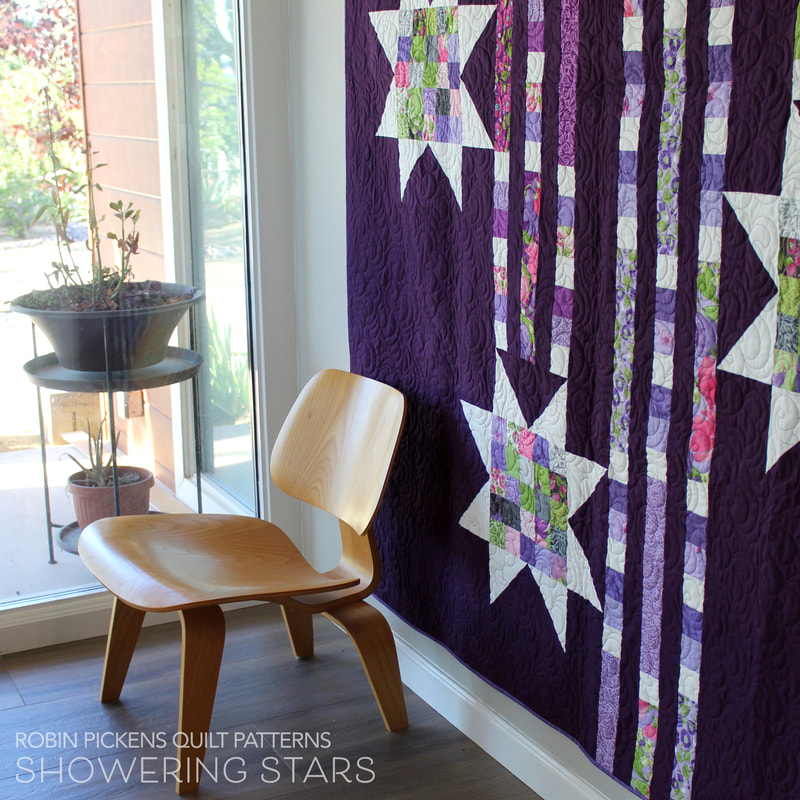 I have now fallen in love with Moda Bella Solid PRUNE 238. Its rich and vibrant and LUSCIOUS! Its the glorious deep purple/plum color as the background. Did I mention I bought a bolt of it? Not sure what I'm doing with the rest but I can't wait to use it as an accent to other prints. 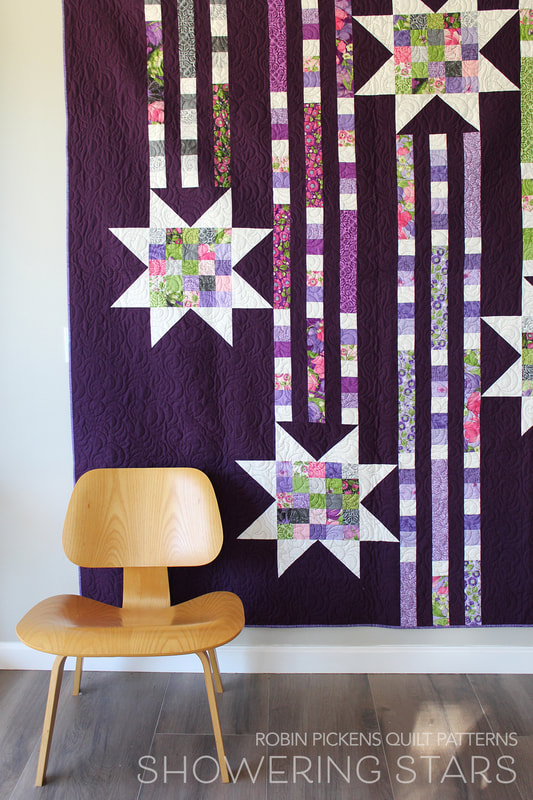 But what would Showering Stars look like reversed, with a light background? I haven't made it this way (yet) but thought I'd give some computer inspiration for other colorways. I used a soft gray in the star points and dashes to let the colors in the star trails feel more colorful and sparkly. 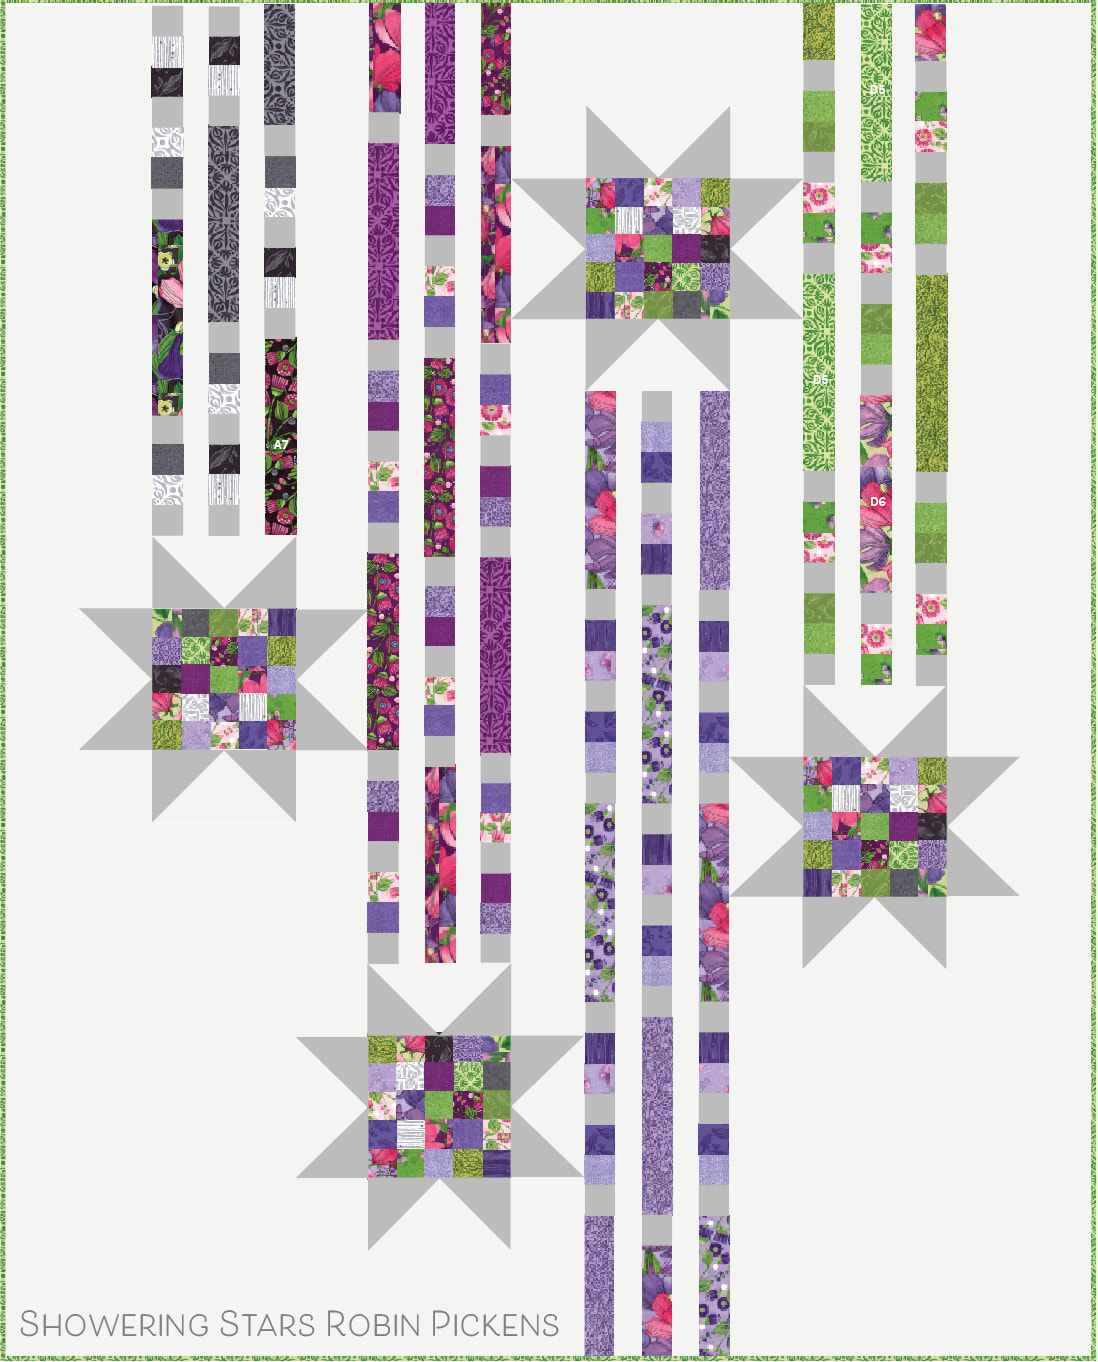 And going all-out color with this turquoise background and light green star points. Completely different look but all of these are using the same Sweet Pea & Lily prints in the star trails. 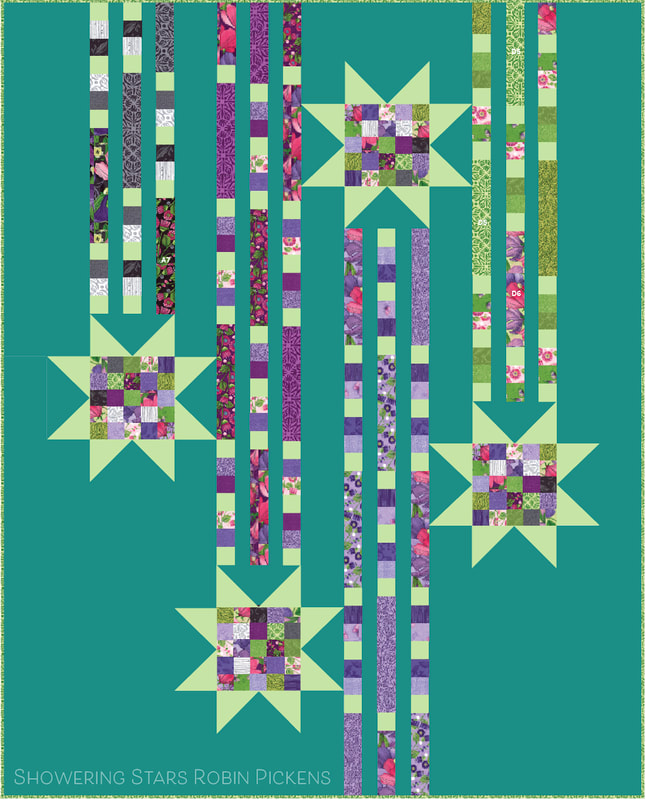 This quilt was my main booth image at the Houston Quilt Market this past fall. It was fun to have such a different color play with this collection! One part I like is the greens and grays still transition through from previous collections.  Check your local quilt shop for the Showering Stars pattern, along with Sweet Pea & Lily fabrics! Patterns are also available at my online shop if your local shop is not carrying it.  Find a falling star and make a wish! And check back for more Sweet Pea & Lily quilts!  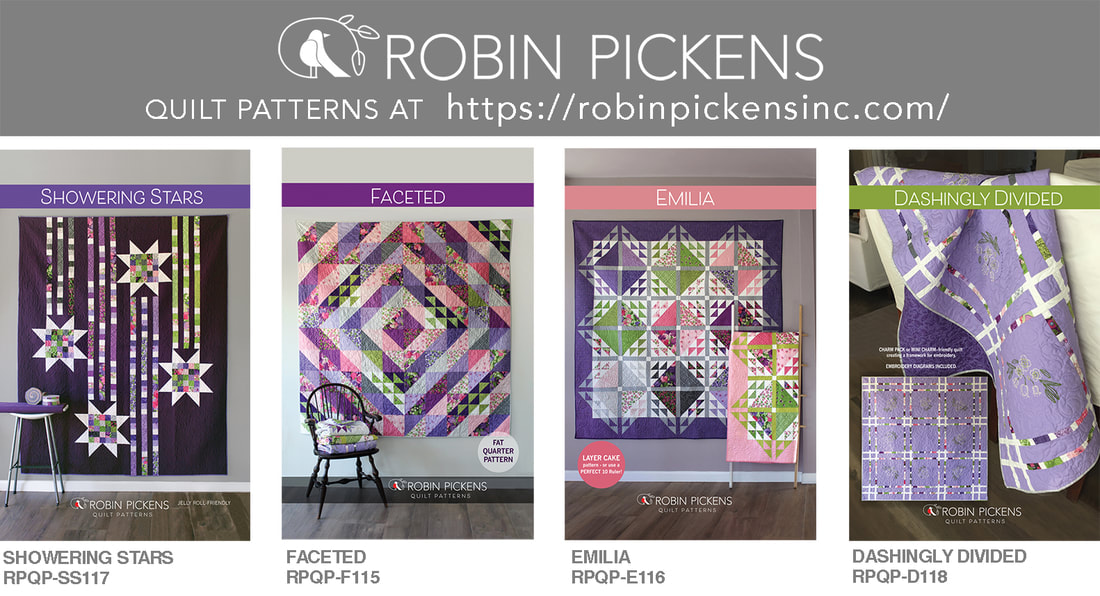  Gibby by Laurie Simpson and Rolling Stone by Jo Morton. I love how fast and easily Gibby went together. Since the pieces were 1 1/2" x 2 1/2" I had plenty of leftovers from other blocks to use! Rolling Stone was also fast due to the smaller size and easy piecing. 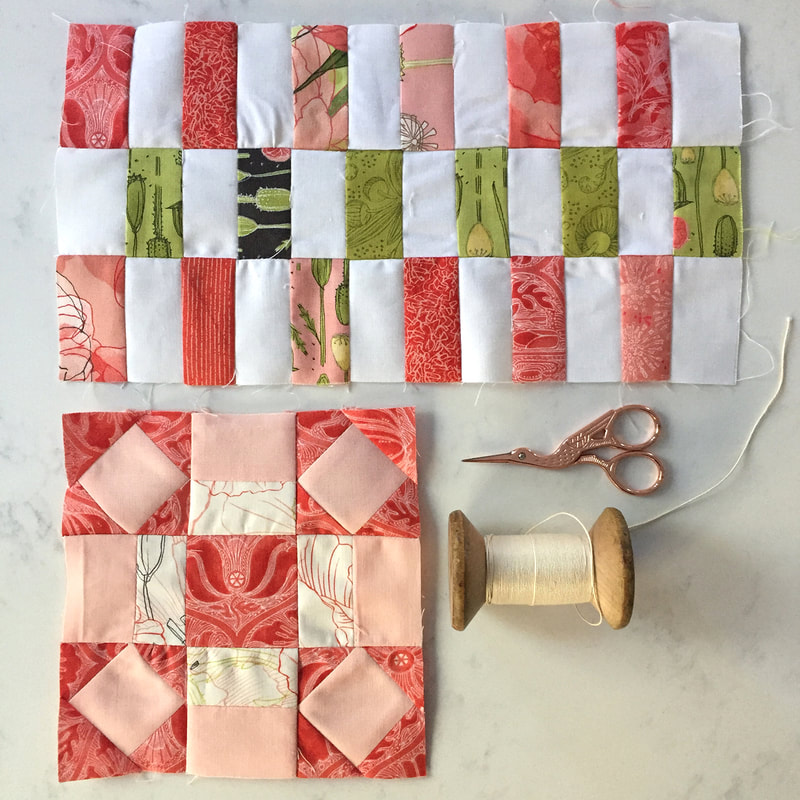 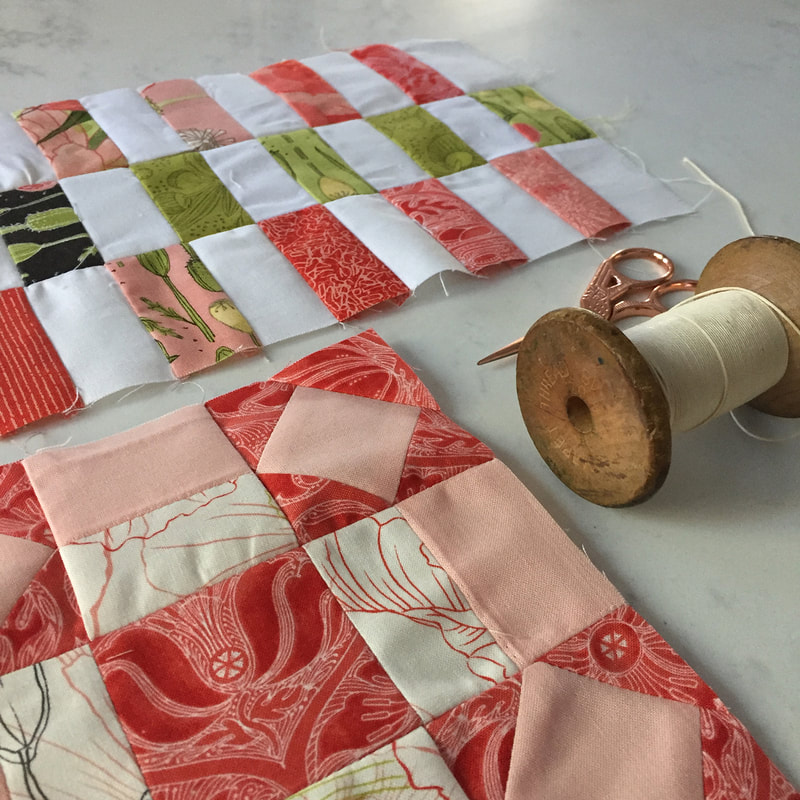 With Dreamy by Sherri McConnell I knew I could use more leftovers and go really scrappy...or take some shortcuts on making my blocks by sewing some strips and subdividing them. 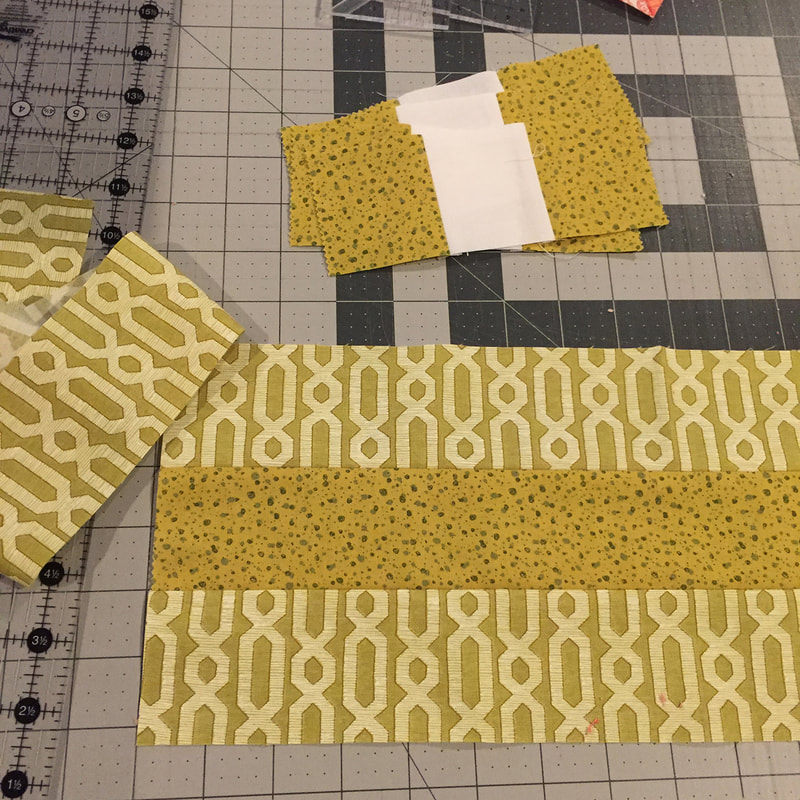 First I gathered some 2 1/2" strips and combined them in groups of three and joined them. 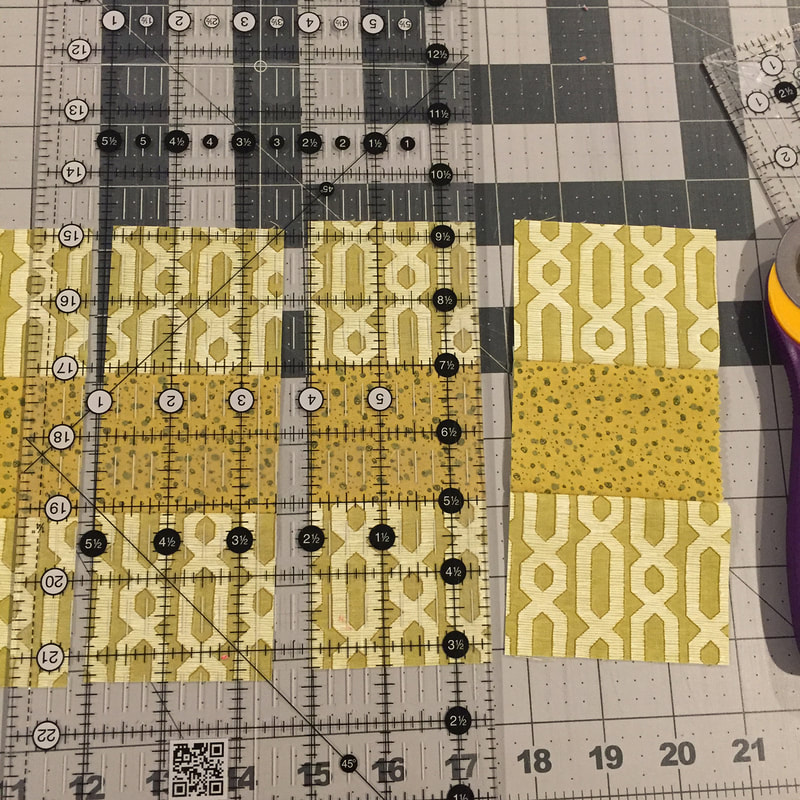 Then by lining up my Creative Grids ruler on the 2 1/2" line I could sub-cut these. Then 3 rows became my 9-patch squares. I am a big fan of Creative Grids due to that extra 1/2" side for easy lining up and measuring for cutting with seam allowances (or flip to the other side to measure from a solid inch). When making multiple blocks some steps like this can really save some time. 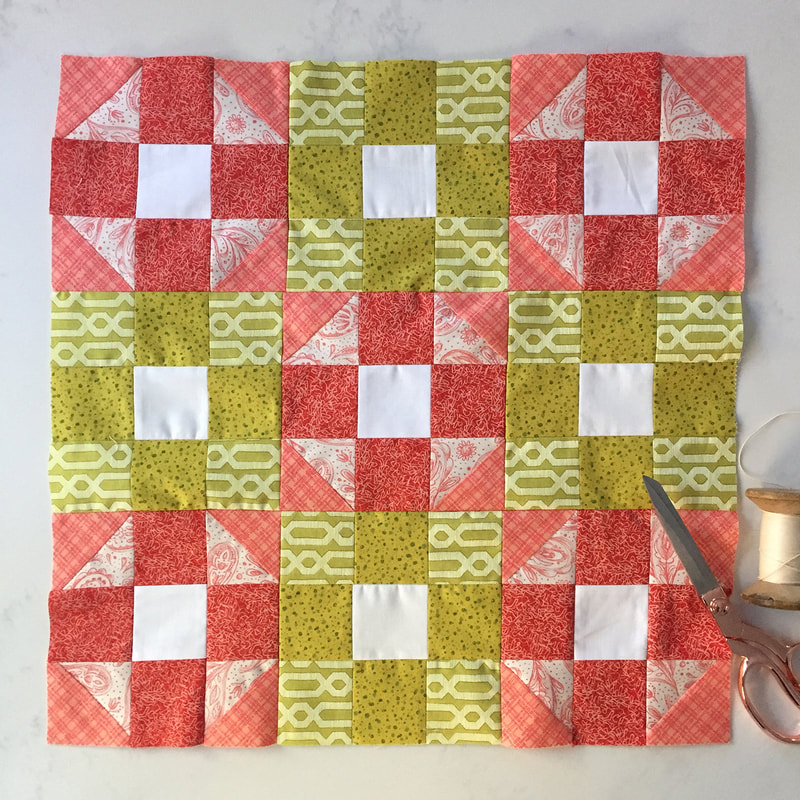 Are you sewing along with Moda Blockheads too? Join the facebook group and sew along!
|

About ROBINDesigner of colorful florals for Moda fabrics. Modern to transitional quilt designer. Illustrator, sewist, crafter. I am proud to be a designer for Moda Fabrics!


Shop Robin's Designs
 I am an affiliate for Fat Quarter Shop and may earn a small commission through my links. Thank you for your support!

Check the March 6, 2017 Episode!
Categories
All
Archives
November 2023
© Robin Pickens Inc. All rights reserved. No images may be reproduced without permission.
|
 RSS Feed

