|
I'm deep in designing some new quilt patterns to go with my new line I'll be showing at the spring Quilt Market, but those have to stay secret for now! However, I thought it could be fun to share a little of what goes into the process of making a quilt pattern! I'm really not showing the part of making the actual quilts because you all know what it's like to make a quilt. This is the other part. I work on the computer first for my designing. Yup, nothing gets cut till I've thought it out. I use Electric Quilt 8 and Adobe Illustrator. I have used Illustrator for many years so I have the most comfort with that software. 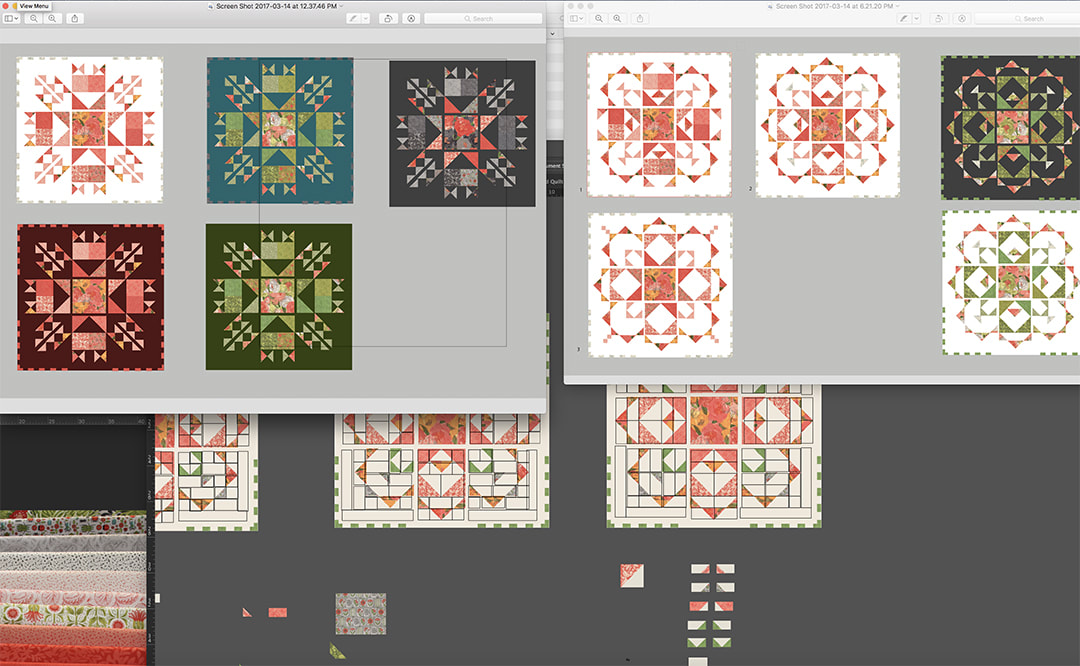 I love creating colorful florals and patterns. Each collection has a personality based on the florals and colors and I try to design quilts that go along with that in some way, either with larger panels to showcase large scale prints, or shapes of blocks that speak to some thing about the main flower. The image above shows part of the process I went through with Town Square Garden for the Blushing Peonies collection. In this case I knew I wanted to do a medallion quilt with a large center panel and started with images on the upper left. Peonies having such a beautiful rounded shape so I ended up using arcs of triangles to the outside to reference the curved softness and blooms (the images on the right). After I have the structure I like, I break it down into what blocks are the most logical to make and describe in instructions. 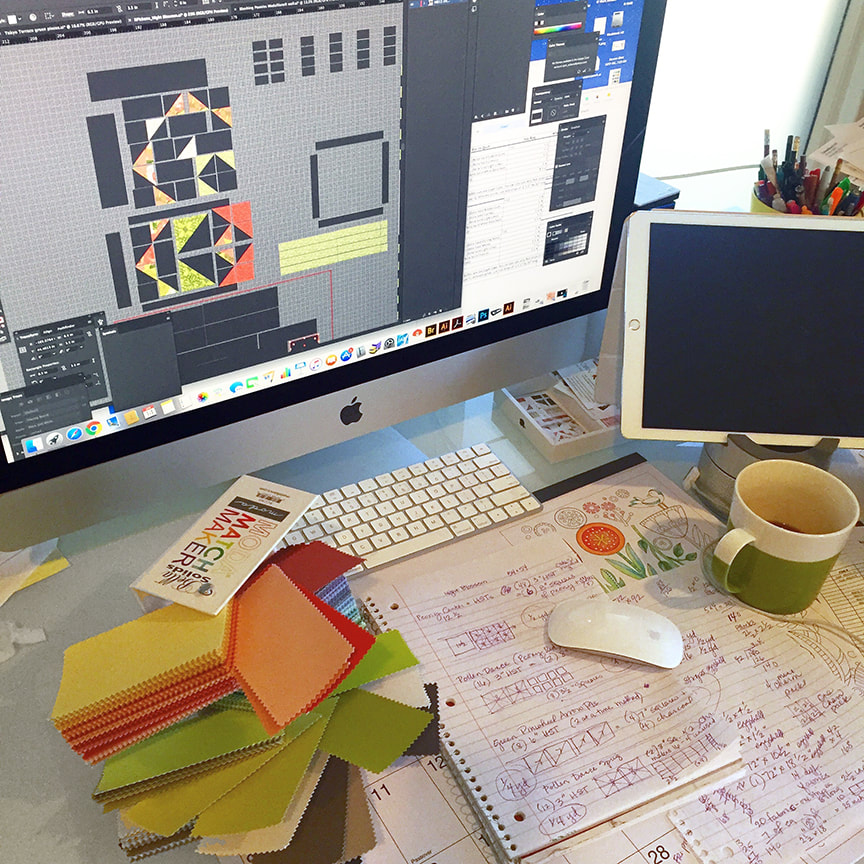 I use Moda Bella Solids with my prints and love the range of colors that coordinate perfectly. I get a lot of use out of my Bella Solids Match Maker and color swatches. The computer allows me to try new color combinations very quickly and easily. In figuring out blocks I also do a lot of drawing and scribbling in my notebooks. Sometimes nothing beats paper to jot stuff down on! 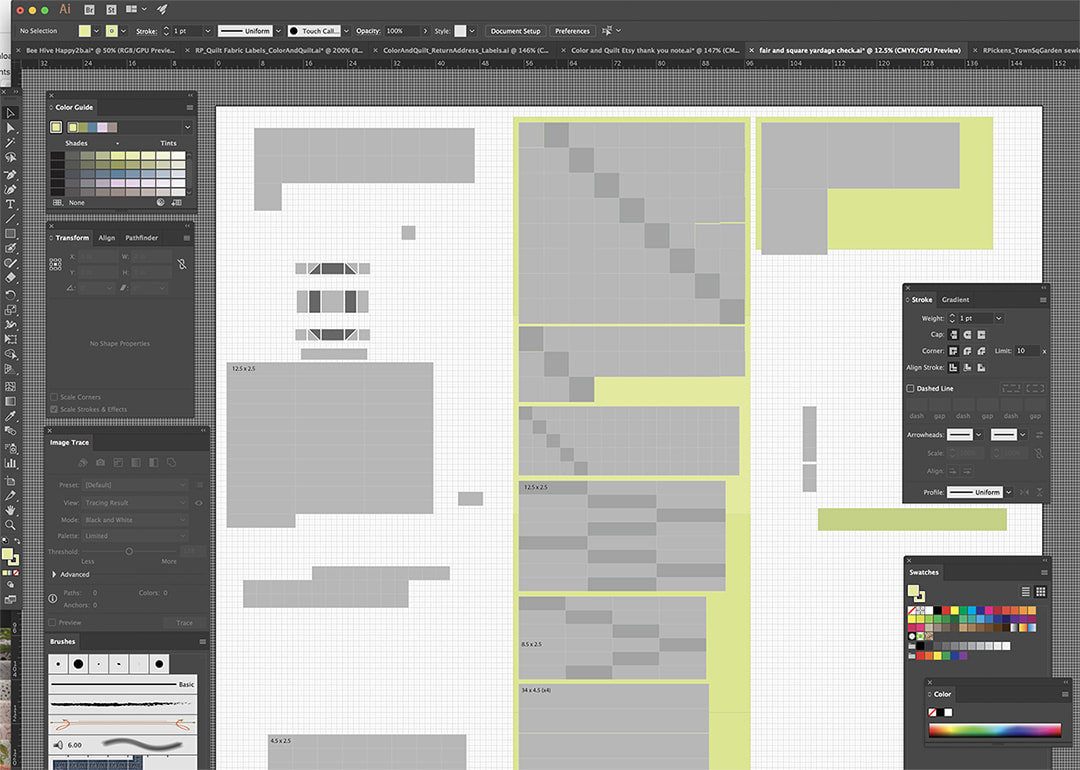 An important part of figuring out a quilt is the size, the scale, and the math of the yardage needed. I try to design some of my patterns to utilize precuts because they are such a handy way to get a whole coordinating collection with a lot of variety without having to buy tons of yardage for that much variety. If I'm using precuts, there are some parameters I stay within for piece sizes for my blocks. To figure out my yardage, I take all the little pieces I made in Illustrator and lay them out the way I would cut them on yards of fabric, as is shown on the image above. I'm sure there are faster ways to figure this out but I'm very visual in my thinking so this way works for me. Then there are the steps of making the actual quilts and finding out what doesn't happen the way I thought it would on the computer. I make revisions on instructions, finish quilts and photograph them (and that could be a whole different blog post). 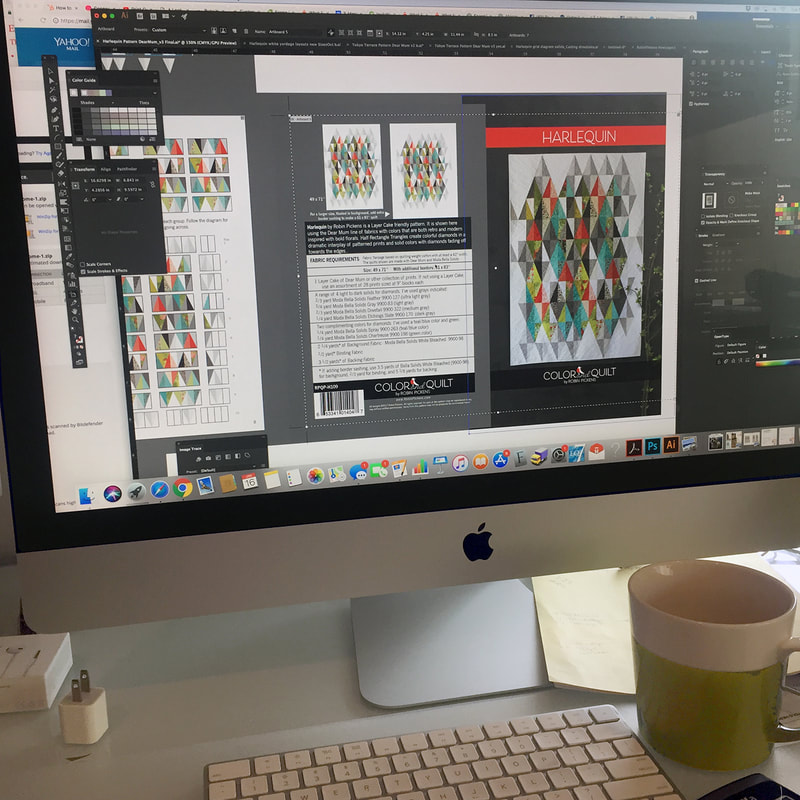 I've got a graphic design background so I handle all the diagrams and layouts myself. The writing of the instructions is often the most challenging part for me and I try to assume people have limited knowledge of piecing. Because I am newer to this, that's the way my brain thinks- simple steps please! I use a technical editor who goes over my patterns before printing and checks my instructions, terminology, yardage and math and any mistakes in my layouts. I get the layouts revised and it's off to press!  When the patterns come back from the printer my handy helper (my dear sweet husband) and I have marathon sessions bagging patterns. The dining room table, the kitchen counters, everything gets used fill the initial larger orders. And then woosh! off they go to shops and sewing rooms! 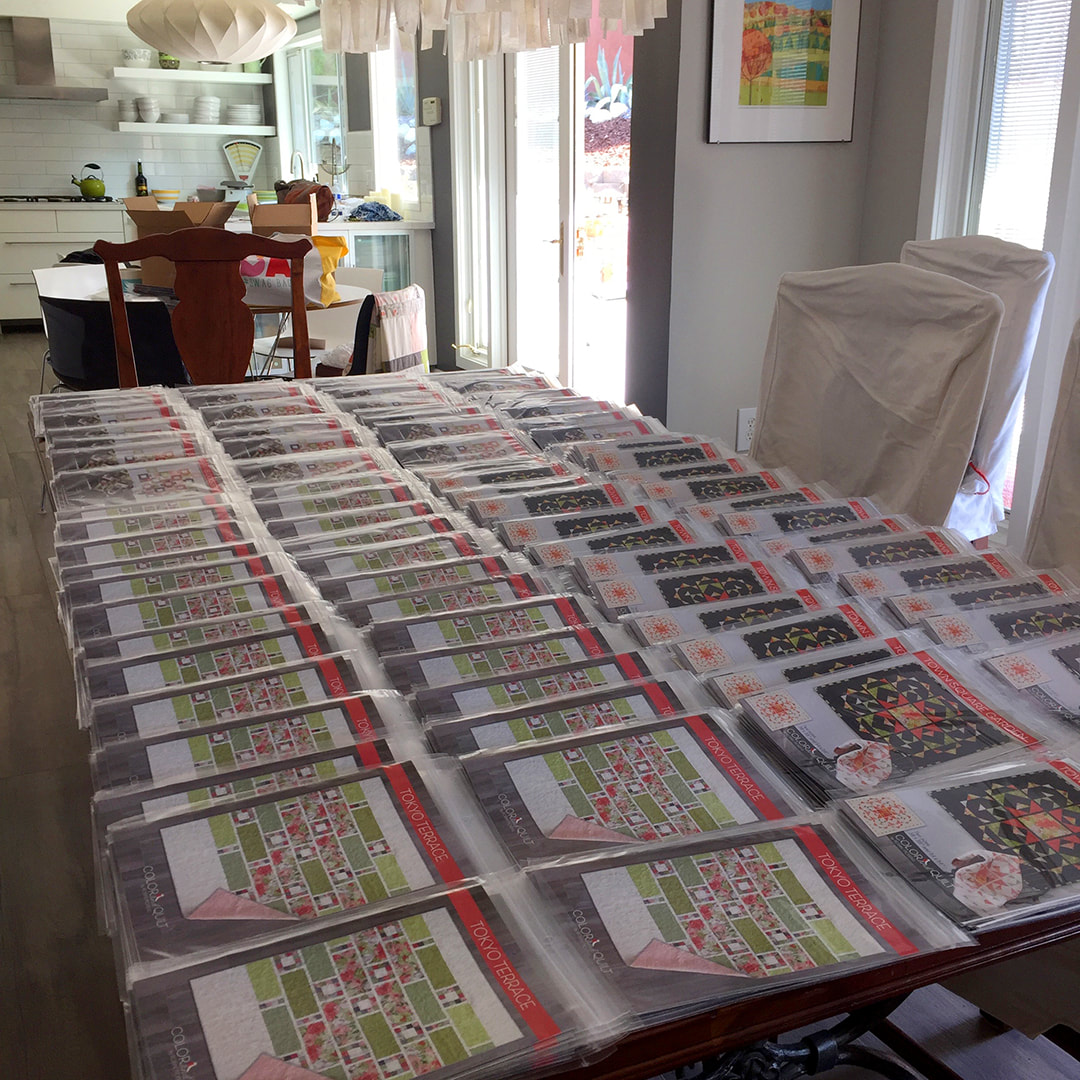  You may have noticed coffee cups in some of the shots...yes, lots of coffee when I'm deep in pattern-land! Hope you have enjoyed this little view into my process! If you'd like to check out some of these patterns they are carried in local quilt shops and on my shop. Happy sewing!! 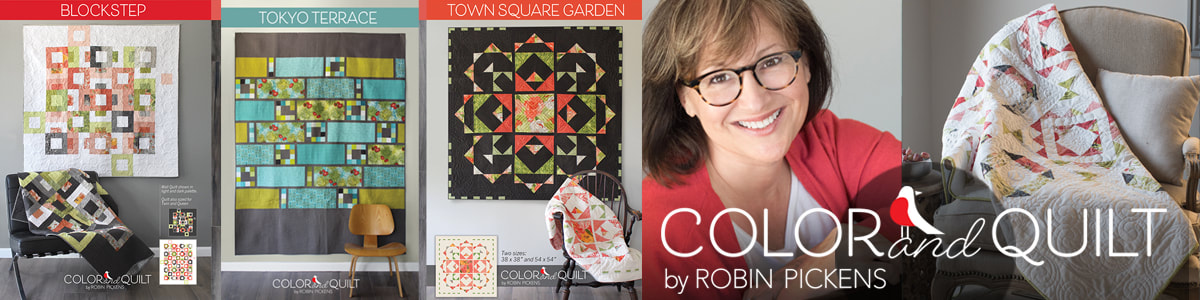
3 Comments
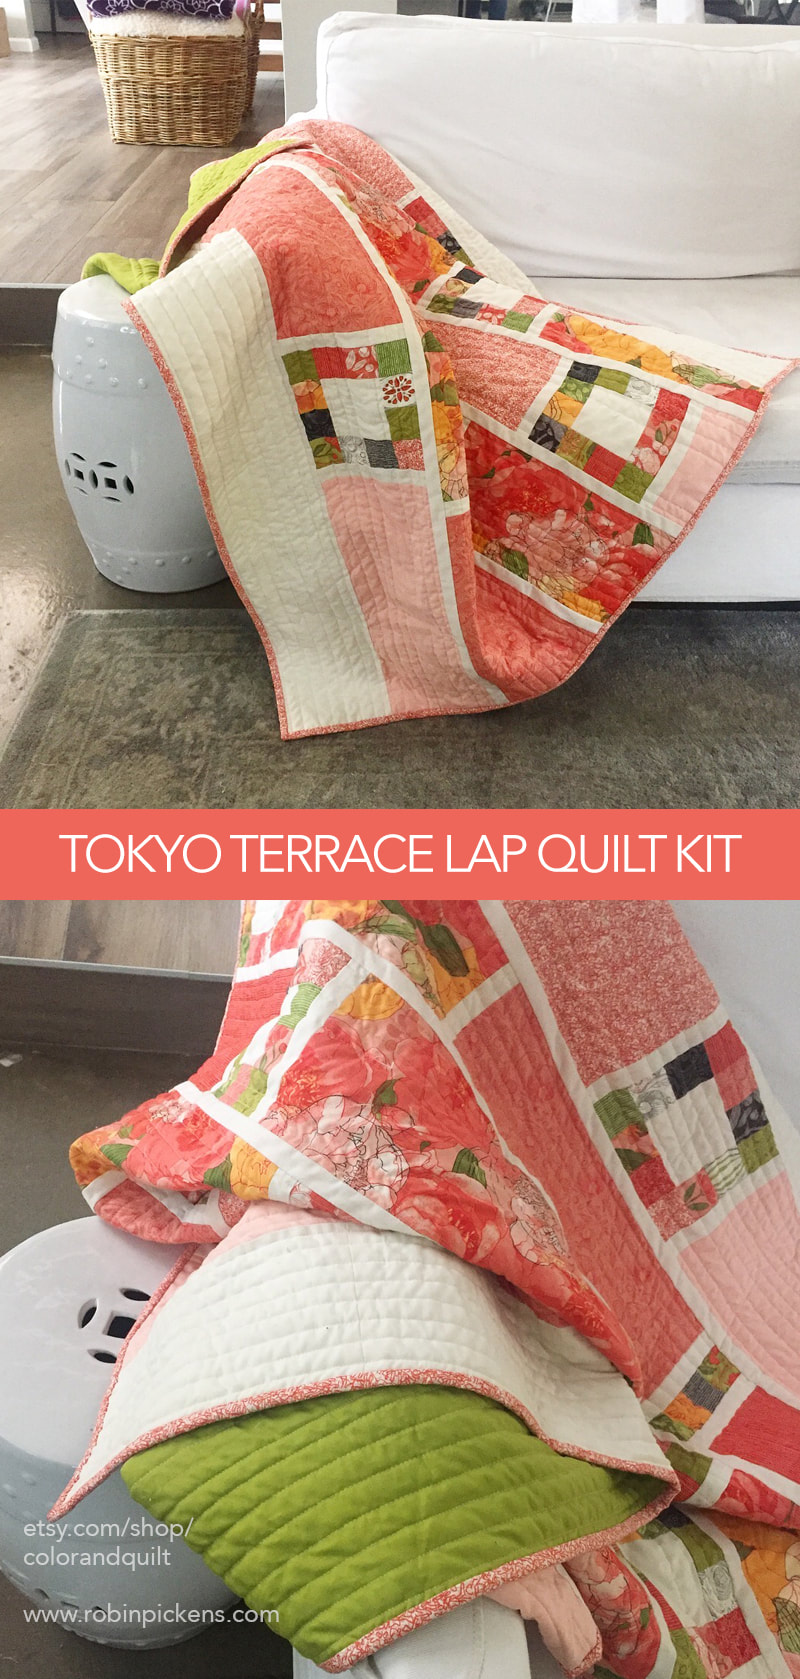 I had a request to size my Toyko Terrace quilt down to more of a lap size. I like to get feedback on my designs and I loved the idea of this as more of a lap quilt. So I resized it to 3/4 of the original size and shortened the top and bottom borders to come up with an overall size of 54" x 60". What I like about this size is I can comfortably quilt this on my home machine. Twin quilts and larger just feel too big and cumbersome for me to quilt on my home machine and they go to a long armer. This lap size I can handle. After sizing this down in the computer I decided to make one for myself. I still had not made the pink version I had originally planned in my Blushing Peonies collection so I added another fabric to the large panels for some more variety and pieced one in a weekend. I love that you can take your time with the patchwork squares or zoom through it out as a weekend project. This quilt is great for beginners. Very forgiving :) 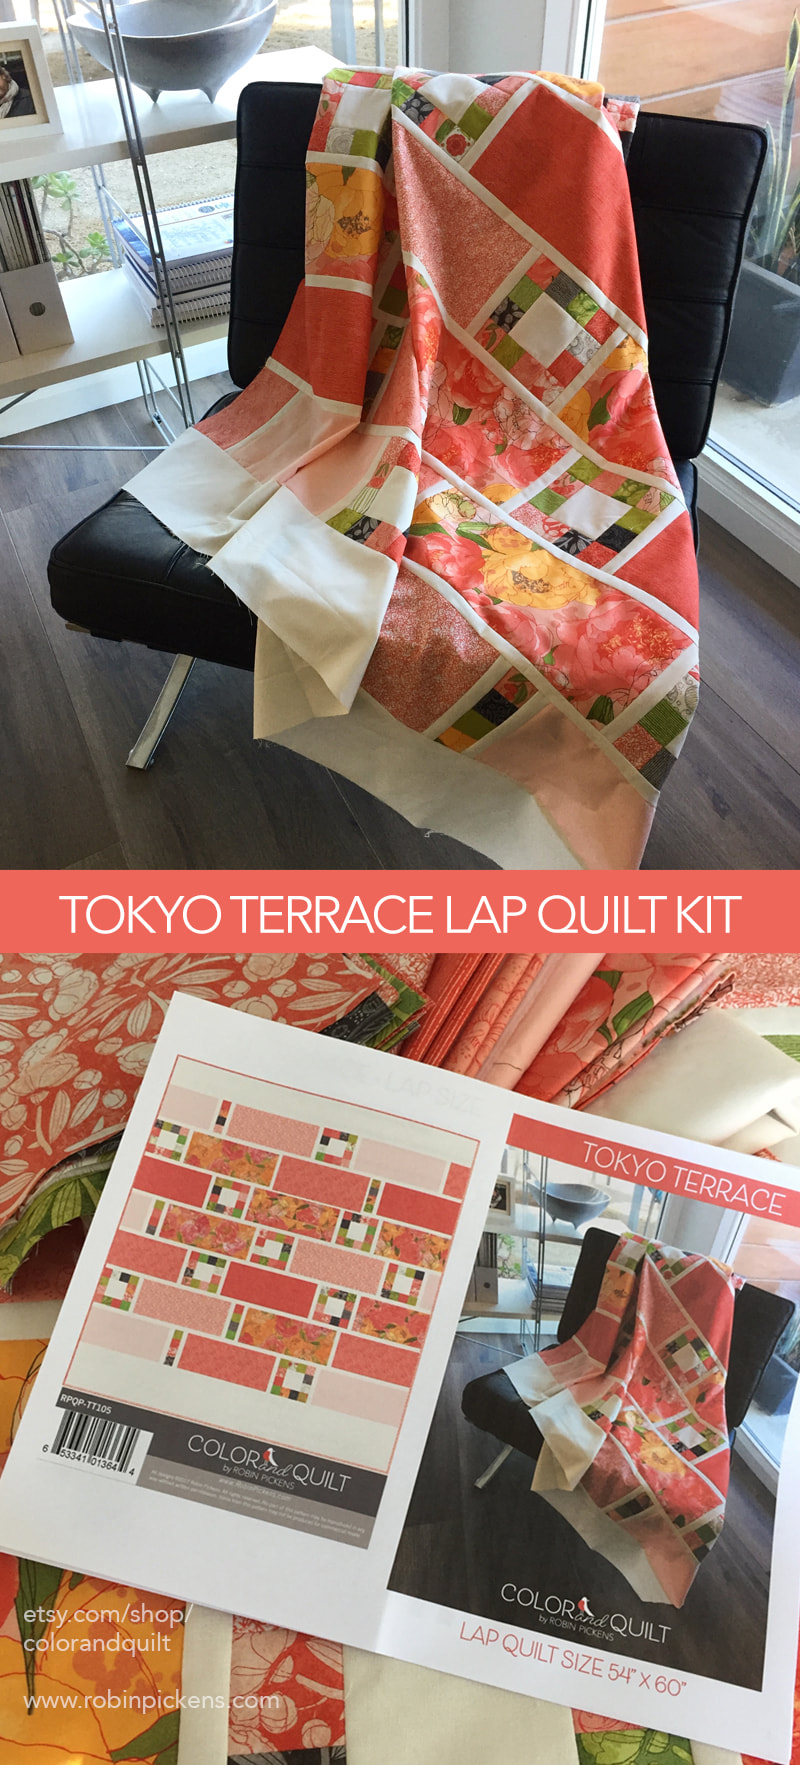 I am very happy with the range of pinks and warm colors- makes me happy! I've kitted this quilt and have it available in my etsy shop- limited quantities. If I'm out of stock just message me on etsy if you are interested and I'll make some more if I have the yardage available. Happy sewing!  |

About ROBINDesigner of colorful florals for Moda fabrics. Modern to transitional quilt designer. Illustrator, sewist, crafter. I am proud to be a designer for Moda Fabrics!


Shop Robin's Designs
 I am an affiliate for Fat Quarter Shop and may earn a small commission through my links. Thank you for your support!

Check the March 6, 2017 Episode!
Categories
All
Archives
February 2024
© Robin Pickens Inc. All rights reserved. No images may be reproduced without permission.
|
 RSS Feed

