|
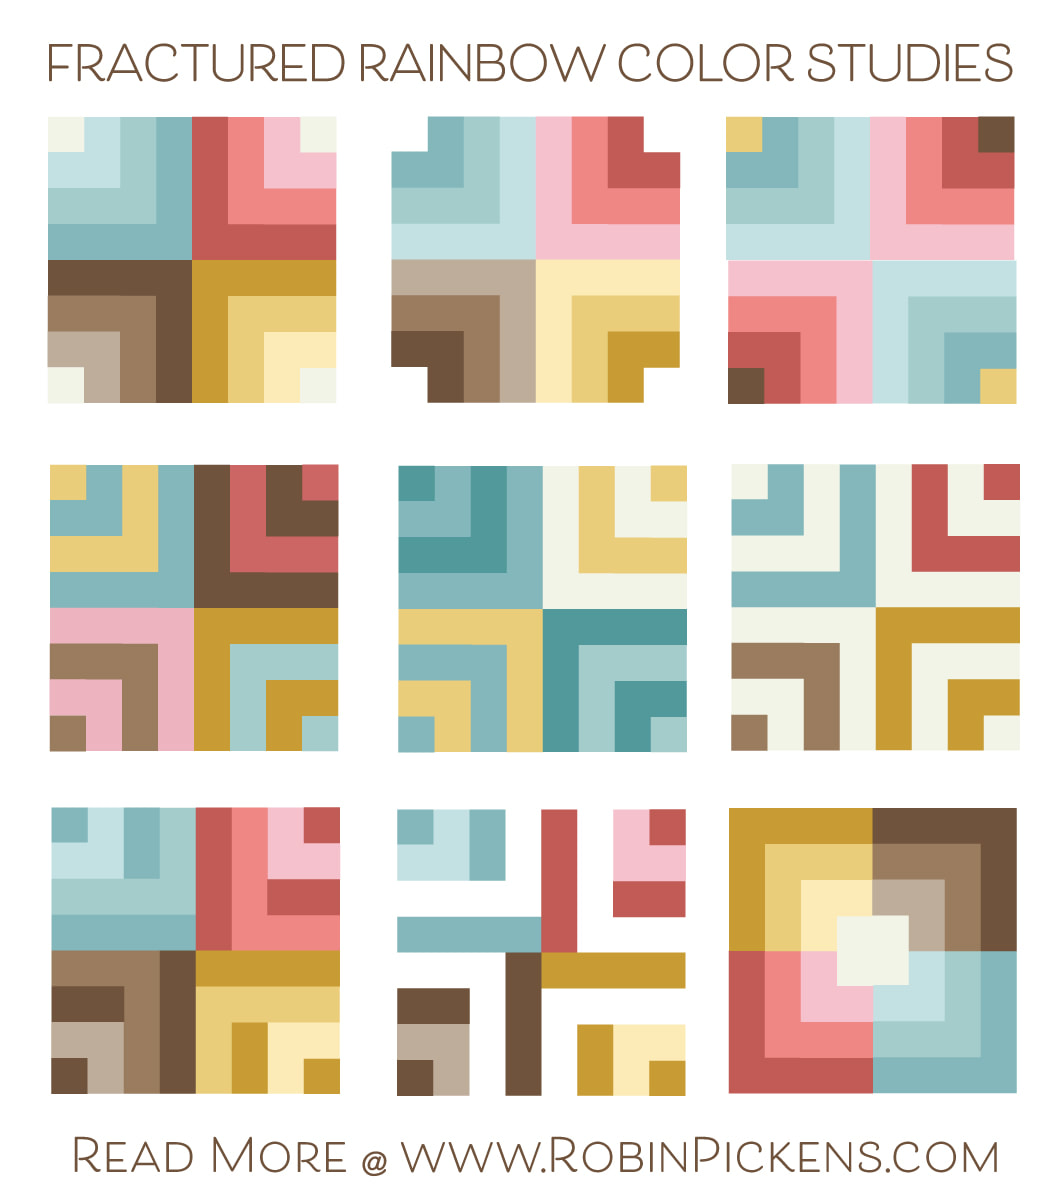
Stacy Iest Hsu said this block was inspired by her love for the log cabin block and that the first quilt she made was a log cabin quilt. This makes me smile since my mother loves log cabin blocks and she too made her first quilt using a log cabin design. It was a quilt that was in yellow and green and was for me! I still have it. Who knew that years later, she would still be loving the process of making quilts and that I would be immersed in this world as well. Thank you log cabin blocks!
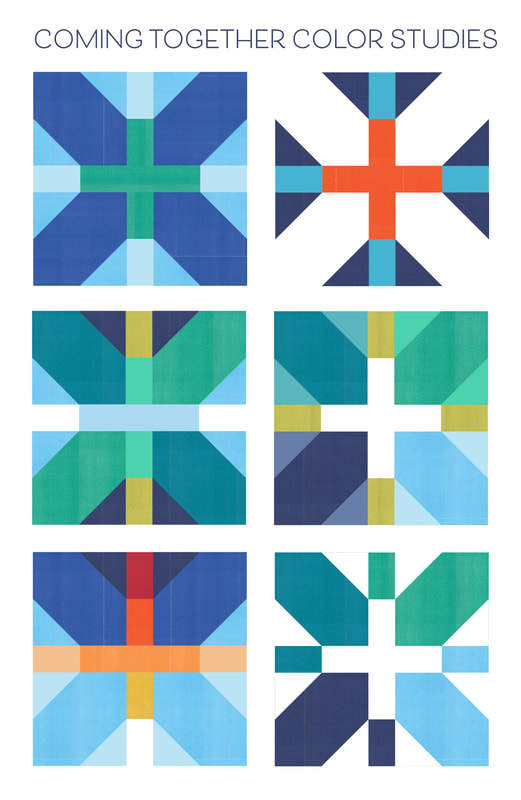
I've started this week's color study with Stacy's version and in the colors she showed on her instructions. I thought it was a lovely palette! If her block radiated darker colors from the center going outwards, what if I flipped that to light on the inside? And maybe light little corners to make those edges fall away? Or just two color families with a little extra color pop in 2 corners? On the next row it is all about stripes and color on color or color stripes with cream. The bottom looks at changing up the color darkness with a dark single piece offsetting the "L" shape, almost creating more of a pinwheel center. For the very last image I switched up the placement of the blocks. Each week I stay within the exact placement of the pieces with this exception...I just could not resist how rotating the corners of the block quadrants made it looked like shades of boxes within boxes (so a little cheat!). Have fun sewing and if you need the pattern, hop on over to Stacy's blog for the download. I'm busy sewing with a new fabric collection that I'll be showing very soon! Hopefully I'll catch up on Blockheads soon but for now I am excitedly sewing away at a rather frantic pace to make some videos for Fabric Forecast. Oh, and stay tuned because next week is one of my blocks for Moda Blockheads!
3 Comments
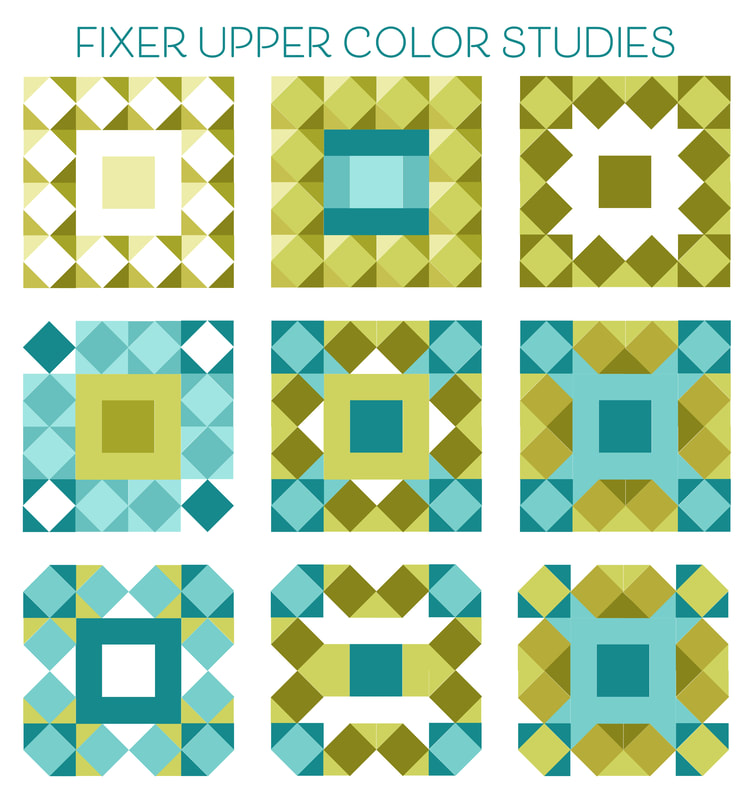
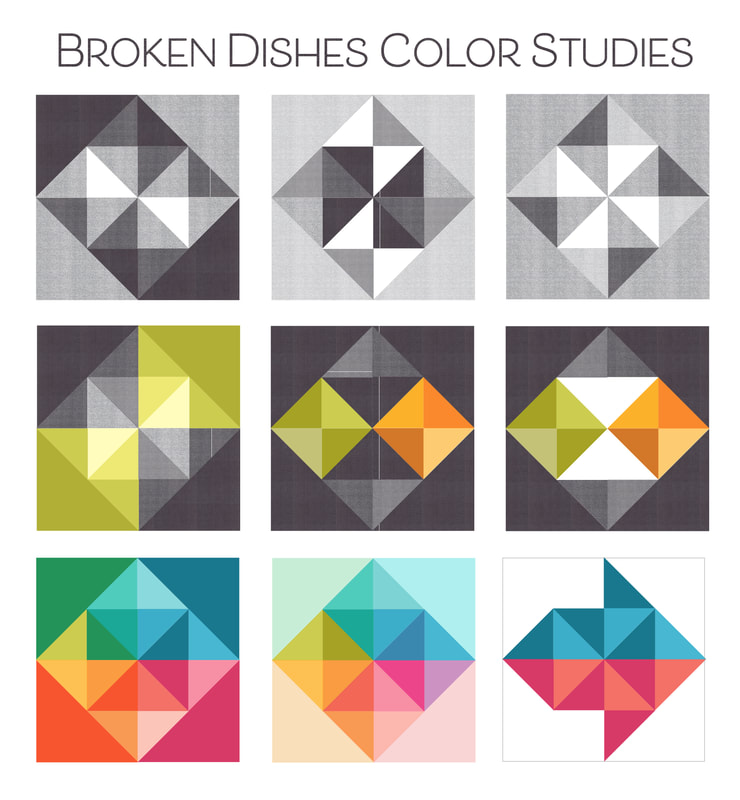
We are three weeks into September and fall has officially begun. I feel like this year has no regular markings of time and this month has been speeding by!! This was such an interesting block to play with. That first image reminds me of the lights around a big celebrity makeup mirror. And the next one emphasizes the center just by nature of the different color. Number three uses negative space to make the center feel like cut ends of a bow in the center. The center shape really gets called to attention in that one.
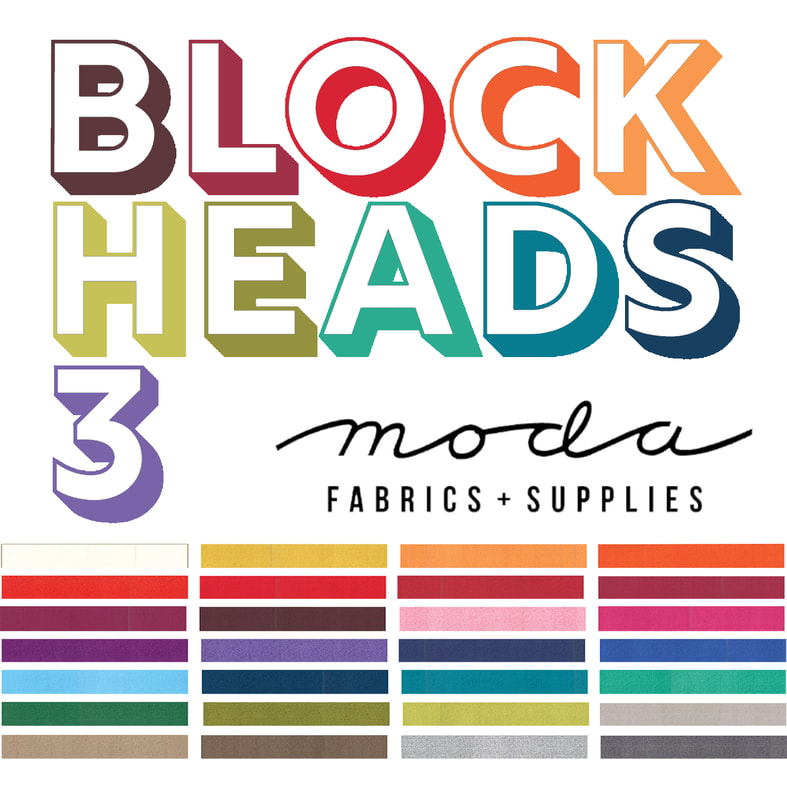
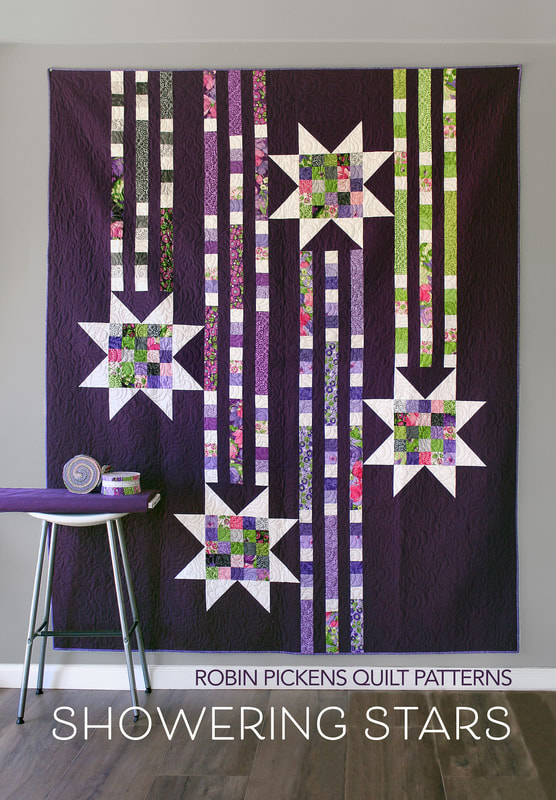
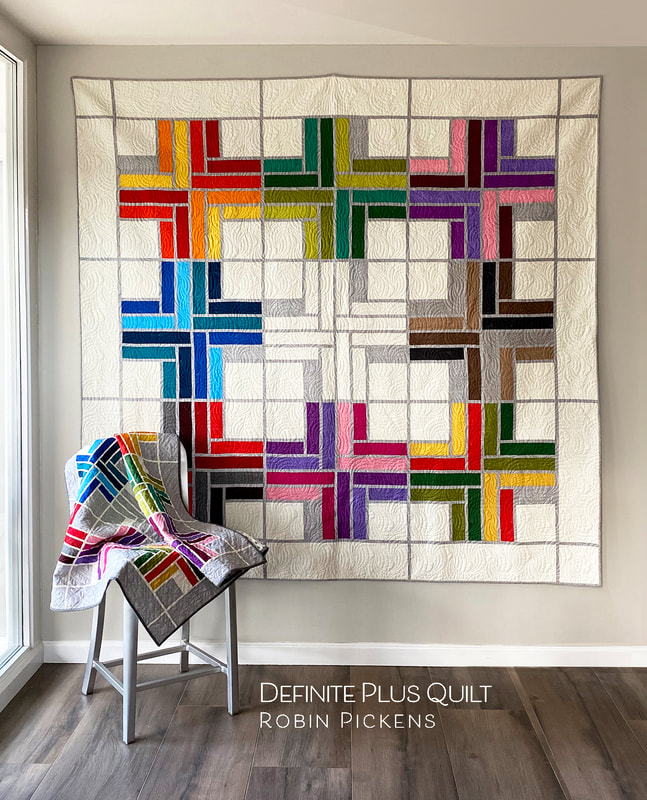
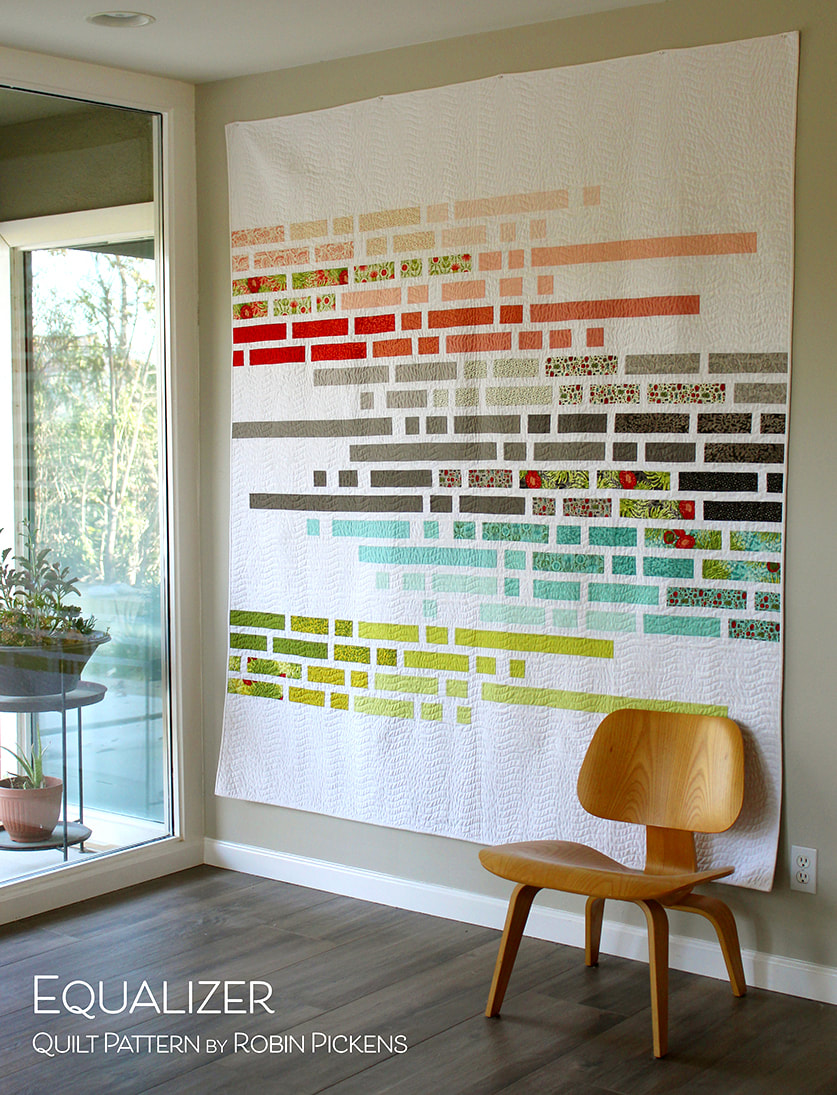
In the middle row, the turquoise color starts to become more mixed into the outer border and the dark olive tones make diagonal shapes and transparencies. In the bottom row, the outer corners becoming the background color gives the shape a more rounded feel and more of grouped corner units. I'm not sure what I am sewing this week although I am rather drawn to #7. This is a busy week. I just got my calendar tea towel uploaded for the spoonflower challenge that opens up for voting next week. And this week Friday the sewalong "Sewcialites" starts! And I just might be imagining some Halloween project in my mind...I'm thinking about my "Cardinal's Christmas Wreath" pattern but done in more fall colors with a black crow. Can't wait to get that mocked up. Happy sewing!! Happy fall! Happy Moda Blockheads day!! Time for a few color studies of Laurie Simpson's Broken Dishes block. Started out with simple black and white and shades of gray with dark corners to make an diagonal direction. Then pinwheels and more playing with introducing color to give the feeling of color transparency (can you imagine a transparent film of color over the corners on number 4?). You can play up the diamonds within a bigger diamond or emphasize the middle band as a horizontal pointed shape. In the last row I tried more of a spectrum of colors and love how the very last one becomes an arrow by using the background color to make a couple triangles disappear! I've been working on 8" blocks for this project and this week I was busy on another project with smaller blocks. I forgot I was doing the 8" for this and ended up making a 4" one! I'm debating adding a border or remaking it and I'll post the blocks after I do my scrappy one too. Did you know it's National Sew A Jelly Roll Day on Saturday?! September 19th get your rolls ready for a day of sewing those long strippy beauties. A couple of my jelly roll patterns that I wanted to share are Definite Plus and Showering Stars. Both quilts can be made large with Jelly Rolls or smaller with Honey Buns. I recently made Definite Plus in Abby Rose and I'm hoping I can get to longarming it on Saturday. That's still working with Jelly Rolls, right? Equalizer is another pattern that works with Layer Cakes or a Jelly Roll and has a clean modern look. Pair your prints with some solids to create that gradated look to lighter color to create the feeling of movement. Whatever you pick for your project for the day, I hope you have fun sewing!
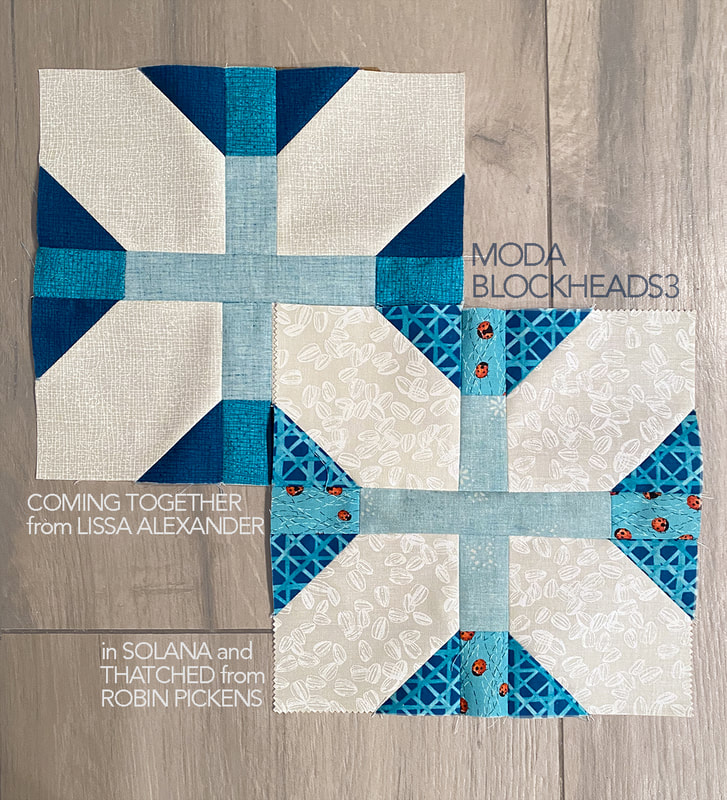
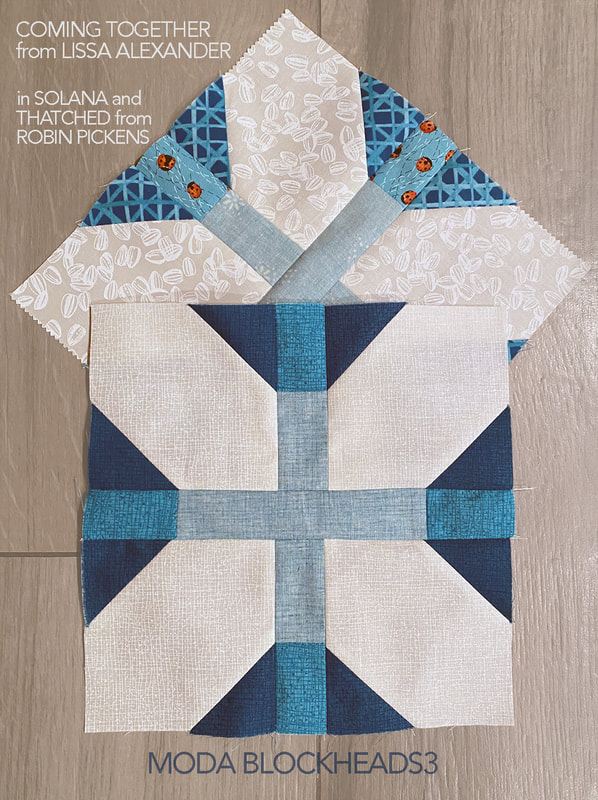
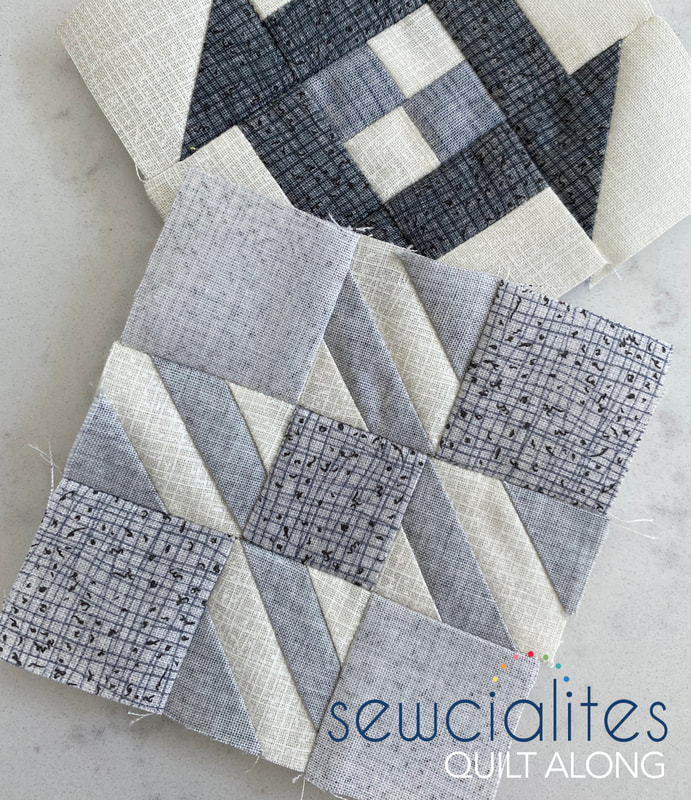
Coming Together by Lissa Alexander is a lovely play on Xs and pluses. I played a little with color, two tone color or no color in the center and one color or shades of color moving around on the X sides. For my layout, I'll be putting this to the lighter end of my blue row so I did the white X and kept my color in the background and center plus. I used my tonal white on cream sunflower seeds for the white X and some of the blue coordinates for the background and center plus. For the Thatched version I used cream and the blue Horizon and Pond blues from the Solana line too. For the block pattern, visit Lissa's blog and it will be posted in the Moda Blockheads group on Friday and in the Moda archives. Happy sewing!
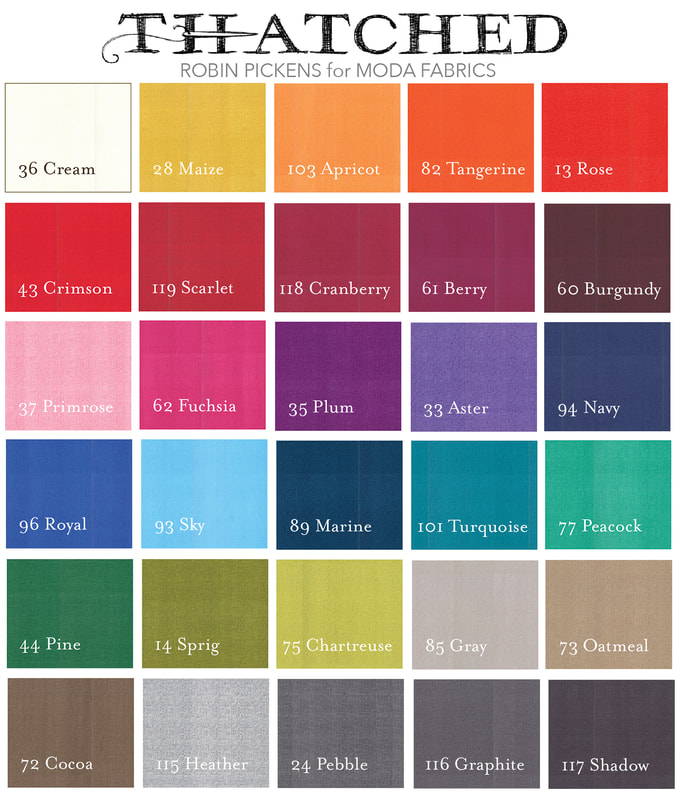
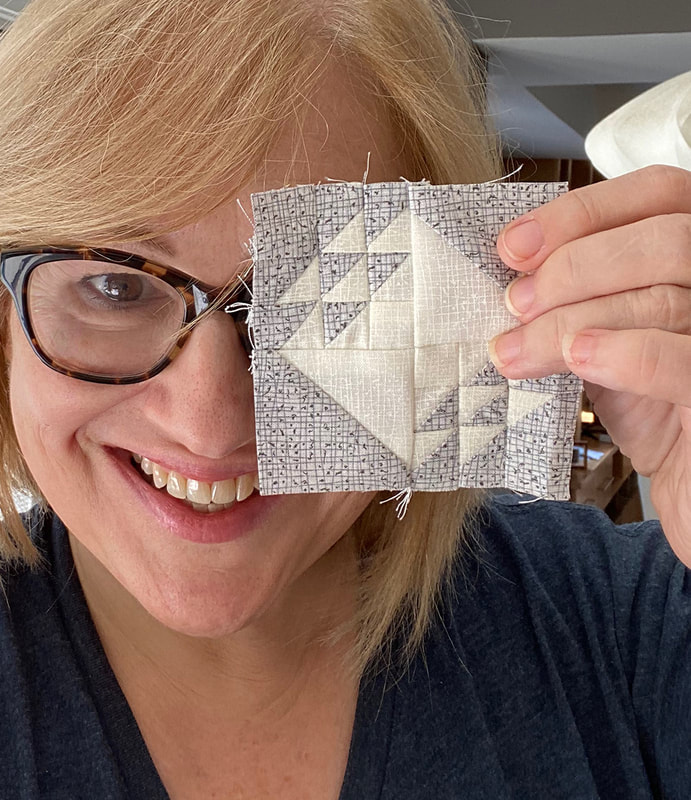
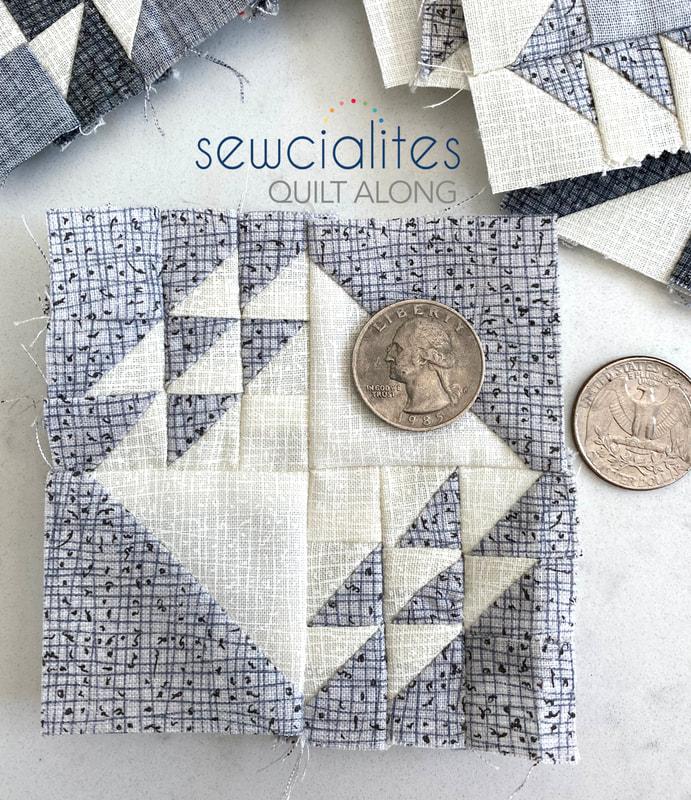
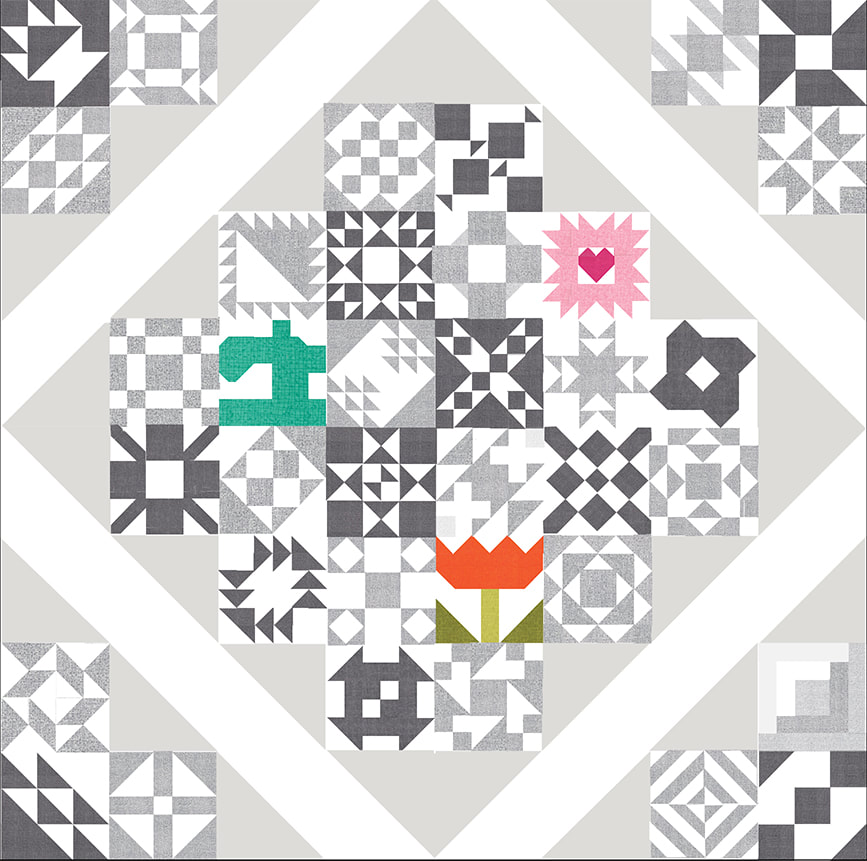
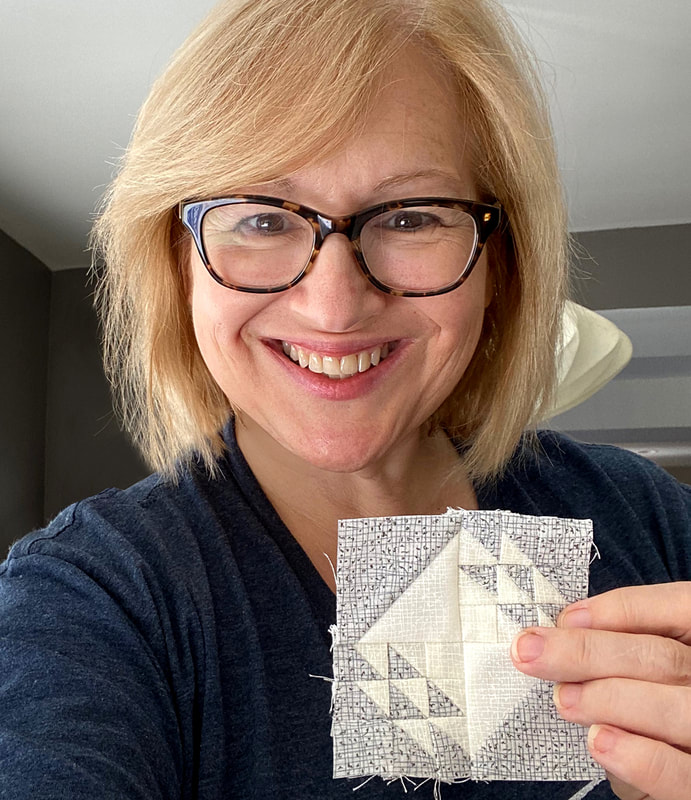
I am really excited to be a part of the Sewcialites Quilt Along being given by the Fat Quarter Shop! The sew along officially starts on Friday, September 25th, 2020 and goes until Friday June 25th, 2021. A new block from a group of 18 designers will be released by the Fat Quarter Shop each Friday! This is a peek at my first block, Devoted, done up in my Thatched basics in gray Heather. There are three sizes of blocks for Sewcialites- 3", 6" or 9" sizes. You can pick whatever size you like. I have never made a sampler quilt with only 3" blocks and I thought this would make a really charming wall quilt so I decided to go for the smallest block size! This is a close up with a quarter so you can get a sense of the scale. I must admit that making these little blocks is rather addictive! I did not know that I would enjoy making the little pieces so much. It is really satisfying to use up some of my smaller scraps (because I have a hard time throwing away fabric scraps) AND the small size is a really nice little project to add in to the beginning or end of my day. The Fat Quarter Shop created a layout for the blocks with a center section and corners made from the blocks. There are large half square triangles that surround the center squares and I decided to flip my big HST to make more of a diamond setting for the blocks. I'll be using either a light gray OR I might try some low volume neutral prints in there. As you can see from my plan, I'll be making my blocks with white (cream Thatched) and two shades of gray. For three of the blocks (one of them- the flower- is my block!) I am highlighting them with color. Flowers, sewing machines and love...well, that deserves a little added notice! Since I will be using all Thatched basics from Moda, I know one thing I can do to add subtle variation is to flip the fabric and also use the backsides. The back side has a more chambray-like look and I can get some lighter shades that blend beautifully with the thatched colors on the front. I've picked Heather and Pebble for the colors and haven't decided yet on the colored squares, although sprig, chartreuse and tangerine might be the flower and turquoise or peacock for the sewing machine. I hope you will join along since sewing together creates such nice community, especially in times where we are more separated at home. A couple places to check in on a weekly basis on Fridays are the Fat Quarter Shop blog and LANDING PAGE (and this landing page has specs on how much fabric you should have and lots of information) and their youtube channel. There is also a facebook group called the Sewcialites Lounge and I just joined in. I will be posting my progress each week there and on instagram. Speaking of instagram, share your progress there using the hashtag #sewcialitesQAL and you will have a chance to win some prizes each month from sponsors like Moda Fabrics, Aurifil, Martingale Publishing, Creative Grids and more! See you on Fridays for a little sewing along!! Thanks Fat Quarter Shop for including me in this lovely project!
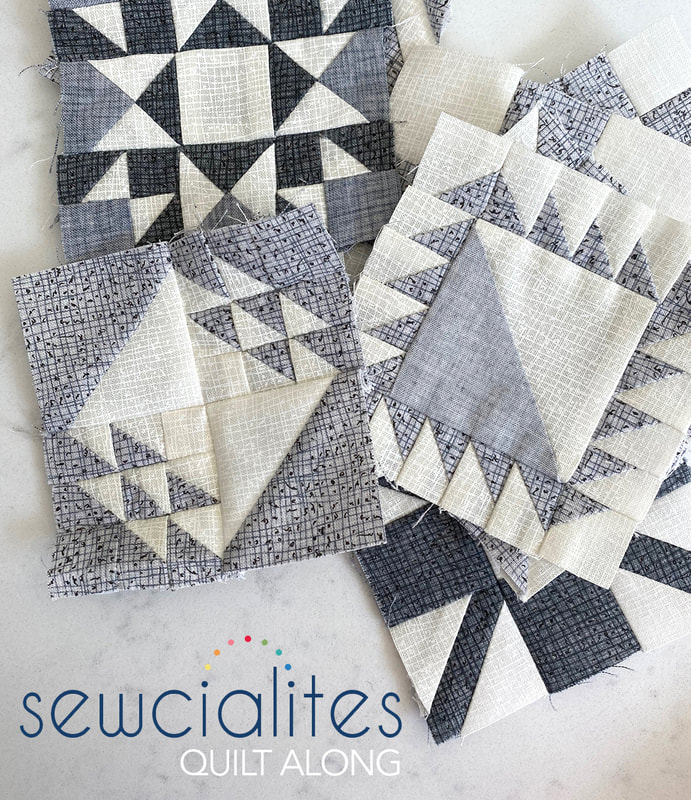
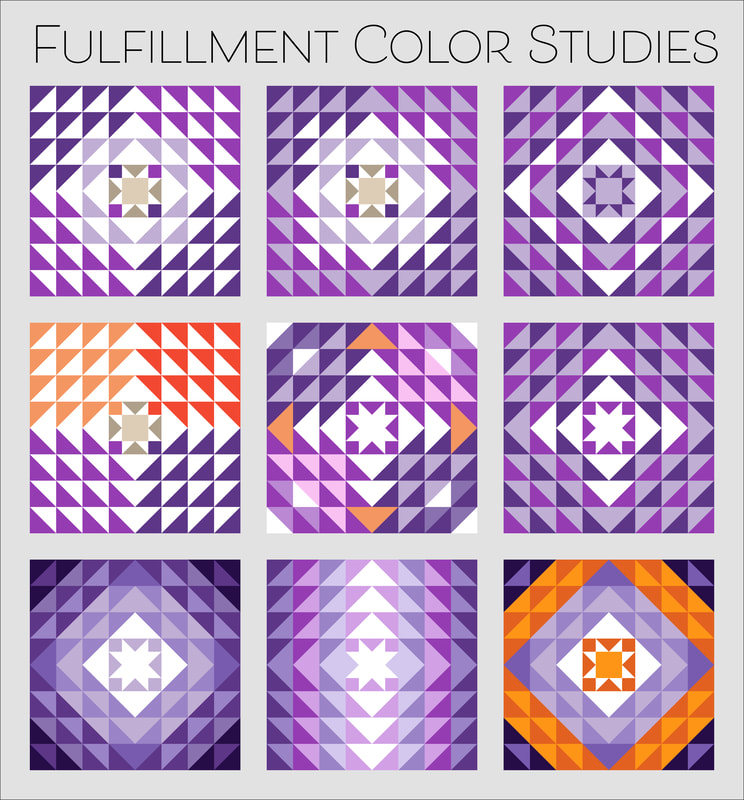
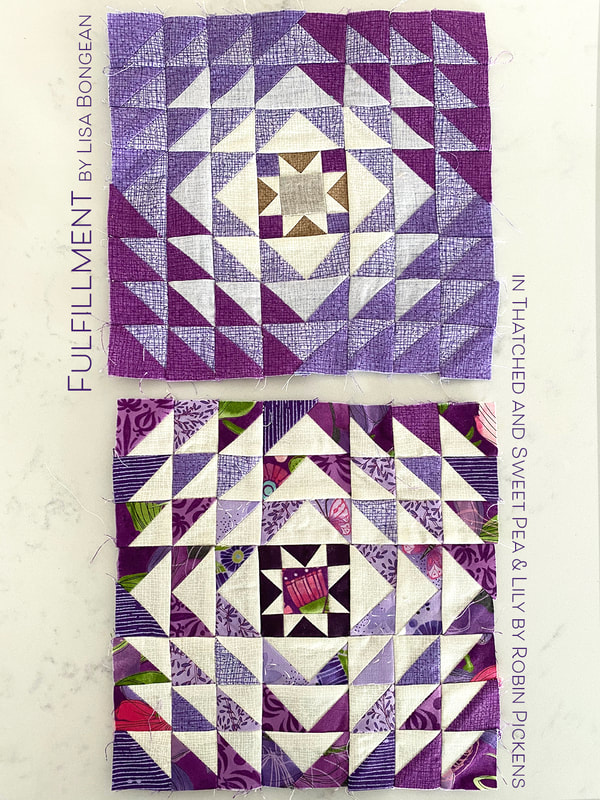
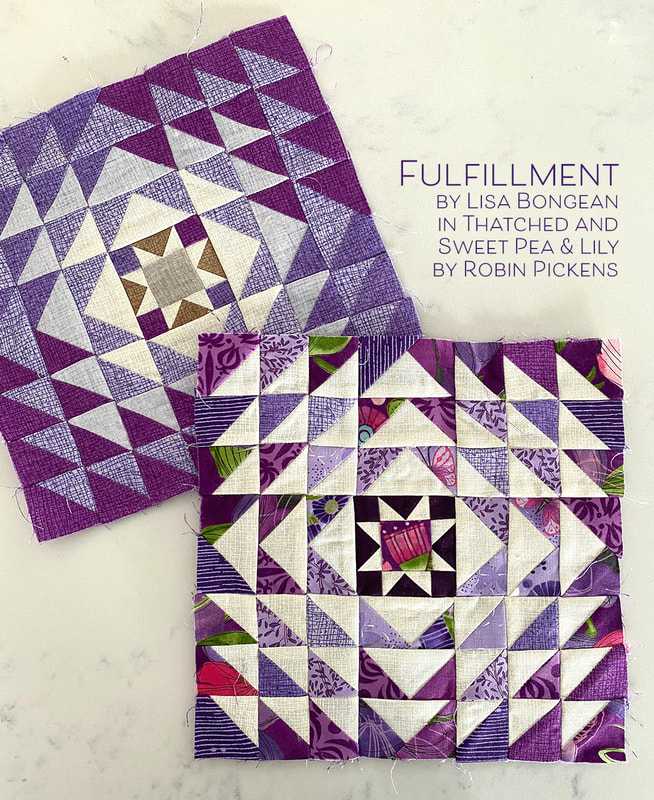
When you have a lot of half square triangles, there is opportunity to play within the angles to show shapes within shapes. I did some background colors that defined the quadrants of the block and also highlighted the white triangles to create diamonds, corners, and compass points. Try squinting to see the shapes more clearly. I also tried making a lighter center with radiating light going out. Also, how about that cute little star in the center? On a few a made them accent colors or warm tan color and others just left them full white. My Thatched block uses a light purple version that is from the Sweet Pea & Lily group. And that is also the group I used for my scrappy block, with a little flower in the middle! I made the 8" size and was really pleased with the little half square triangles. Hope you are finding your own fulfillment from this journey! Thank you Lisa Bongean for this rich and beautiful block design. Be sure to check out her blog at https://lisabongean.com/2020/09/02/moda-block-heads-3-block-34-fulfillment/ Happy sewing everyone!
|
About ROBINDesigner of colorful florals for Moda fabrics. Modern to transitional quilt designer. Illustrator, sewist, crafter. I am proud to be a designer for Moda Fabrics!
Shop Robin's DesignsI am an affiliate for Fat Quarter Shop and may earn a small commission through my links. Thank you for your support!
Categories
All
Archives
February 2024
© Robin Pickens Inc. All rights reserved. No images may be reproduced without permission.
|
Proudly powered by Weebly



 RSS Feed
